
Last updated October 16, 2026
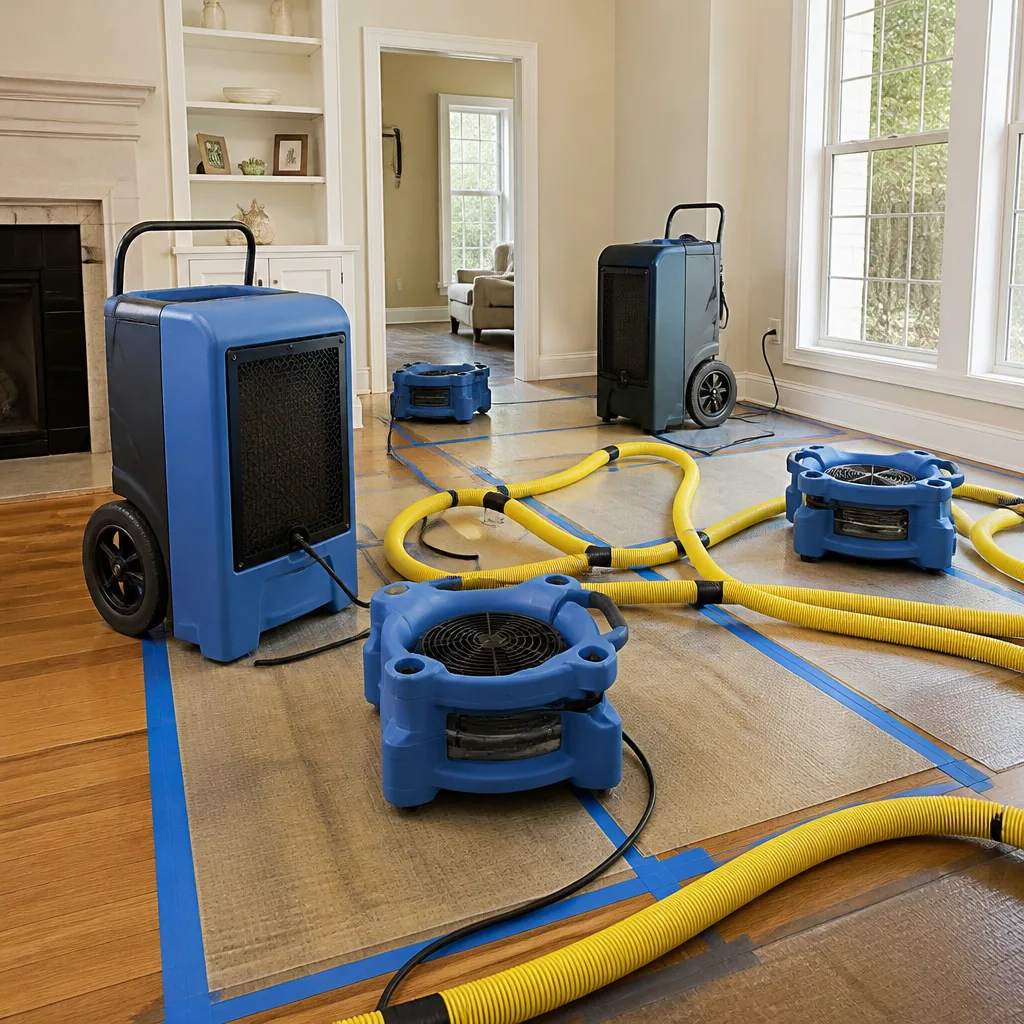 Water damage drying
 Fire & smoke cleanup
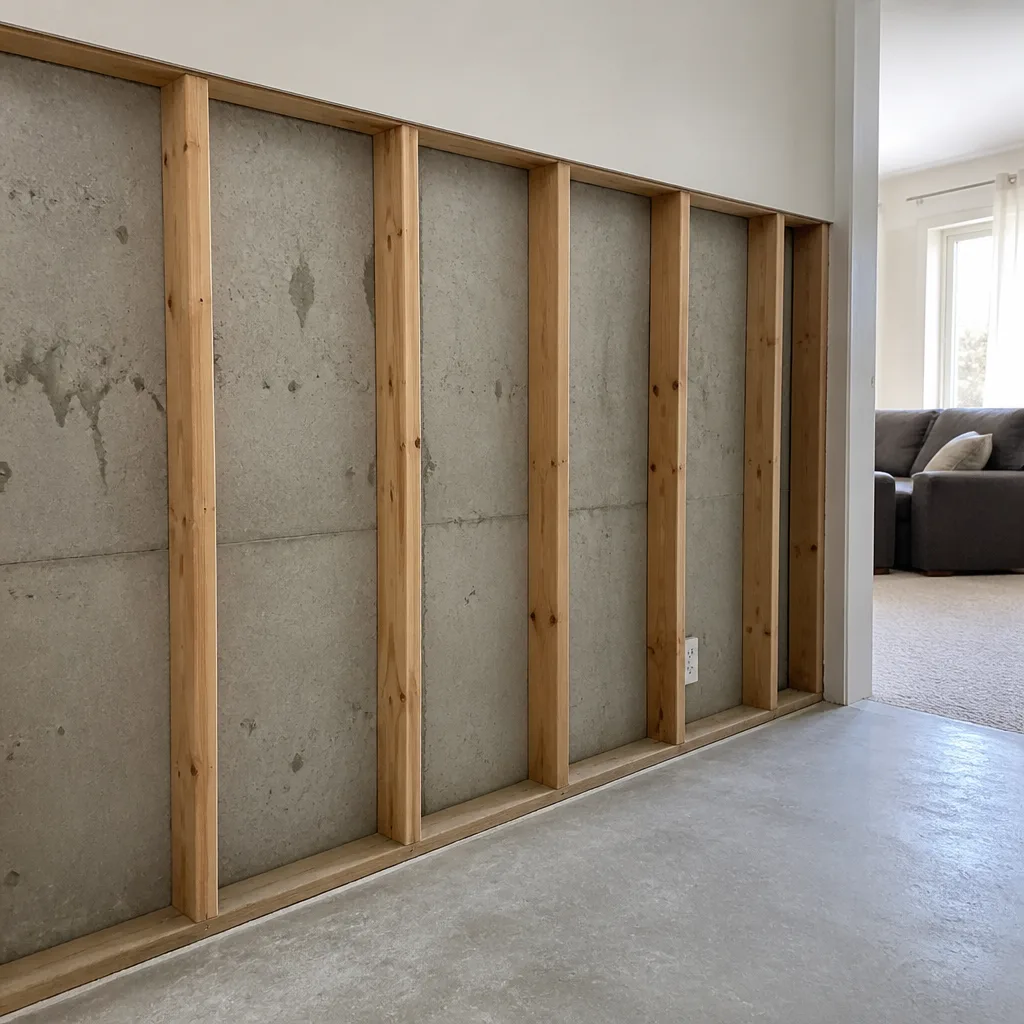 Mold remediation
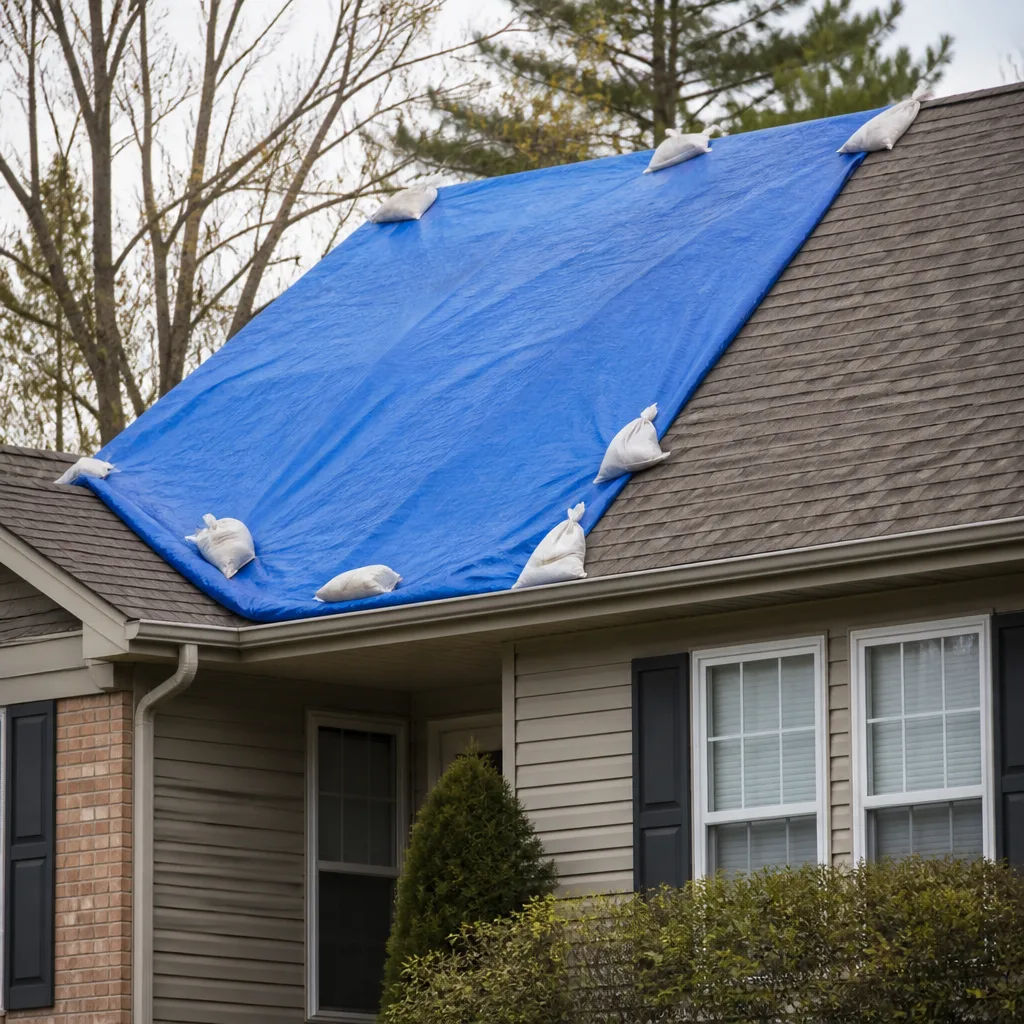 Storm response
 Sewage cleanup
 Reconstruction
Free visual inspection and a written scope of work before any mitigation begins - photos, moisture readings, and drying logs go in your claim file
The scope we write is the scope we bill. Anything new gets shown to you, in writing, before we touch it.
Get your free estimateDIY vs Professional Damage Restoration: The San Jose Homeowner’s Decision Guide
Renting a consumer wet-vac and a couple of box fans from Home Depot after a supply line bursts feels like saving $2,000. And sometimes it is. But if your San Jose home was built before 1980, there’s a statistically meaningful chance you’ve just started grinding or peeling asbestos-containing vinyl floor tile, popcorn ceiling texture, or drywall joint compound into the air without knowing it. That single fact changes the entire DIY math, and it’s the one almost no online guide mentions. This guide walks through what actually separates a legitimate DIY drying job from one that needs a professional restoration crew, using San Jose housing stock, California regulations, and real equipment performance numbers as the measuring stick. For more guides & resources on protecting your home, see our blog.
Restoration work we handle
Quick Answer
DIY damage restoration is genuinely reasonable for small, contained clean-water incidents under about 15 square feet on non-porous surfaces, provided the water is Category 1 (from a supply line, not a drain or exterior flood) and you start drying within 24 hours. Anything larger, any water that touched porous materials like drywall or carpet pad, any pre-1980 home with suspect materials, or any Category 2 or 3 water calls for a professional restoration company. In San Jose specifically, the pre-1980 asbestos question alone pushes many seemingly simple projects into professional territory, because California law requires testing before disturbance. Our Seasonal Damage Restoration Care for San Jose: Year-Round Homeowner’s Guide explains how to spot risks before they become emergencies.
Table of Contents
- The Real DIY Question: What’s Behind Your Drywall?
- San Jose Housing Stock and the Pre-1980 Asbestos Problem
- The Equipment Gap: Consumer Fans vs. Commercial Drying Systems
- The Three Scenarios Where DIY Drying Actually Works
- The Honest Cost Comparison: DIY vs. Professional Restoration
- How a Failed DIY Attempt Affects Your Insurance Claim
- Moisture Science in Plain English: RH, GPP, and Why Time Is the Enemy
- Common Mistakes to Avoid
- When to Call a Professional
- Frequently Asked Questions
- The Bottom Line
The Real DIY Question: What’s Behind Your Drywall?
Most DIY-versus-professional guides frame the question as skill: do you know how to run a fan and a dehumidifier? That’s the wrong framing. The actual question is about what’s hidden inside your walls and under your floors, because in San Jose, the answer almost always changes the math. A water leak doesn’t just wet the surface you can see. It travels along wall cavities, wicks up drywall, saturates insulation, and pools under vinyl plank or tile. The visible puddle is the smallest part of the problem, and in our experience, it’s the part homeowners already know how to handle.
What separates a successful drying job from a mold problem six months later is what you do about the water you can’t see. Drywall acts like a sponge. Vinyl flooring acts like a vapor barrier that traps water underneath it for weeks. Insulation holds moisture against framing lumber, which is exactly where you don’t want it. A professional restoration technician uses moisture meters to map how far water has migrated, not just where it’s visibly wet. That mapping determines which materials get dried in place and which get removed. Skip it, and you’re guessing with your home’s structure.
This is the core of the Kingswell approach at Dryden Restoration San Jose home: say the price before the work, show up in the window we gave, leave the place cleaner than we found it, and put the guarantee in writing. But the first step is always an honest assessment of what’s actually wet. If that assessment requires opening a wall in a pre-1980 home, California law has something to say about it, which we’ll get to next.
San Jose Housing Stock and the Pre-1980 Asbestos Problem
San Jose’s housing stock is older than most people realize. While the city has seen enormous growth in places like Evergreen, Almaden Valley, and Berryessa since the 1980s, huge swaths of central and East San Jose were built between 1945 and 1979. Homes in neighborhoods like Willow Glen, Rose Garden, Naglee Park, and the Alum Rock area frequently date from that window. That matters for one specific reason: asbestos.
Before 1980, asbestos was a standard ingredient in three materials every Bay Area home is likely to contain:
- Popcorn ceiling texture – sprayed acoustic ceilings containing 1 to 10 percent chrysotile asbestos were common through the late 1970s.
- Vinyl floor tile and the mastic beneath it – 9×9 inch tiles especially, but also sheet vinyl backing.
- Drywall joint compound – yes, the mud used to tape and finish drywall seams in pre-1980 construction often contained asbestos.
Here’s where it gets serious, and where the DIY framing fails. California asbestos regulations (specifically Cal/OSHA and Air Quality Management District rules) require testing before disturbing suspect materials. That means if you pull out wet drywall in a 1972 Willow Glen ranch without testing, you may be legally and financially exposed twice: first, from the potential asbestos release in your own home, and second, from the cost of proper abatement after the fact, which is far more expensive than pre-disturbance testing would have been.
A professional Water Damage Restoration in San Jose company handles this as standard procedure. The testing cost, typically $150 to $400 for a few samples with 24-48 hour turnaround, is part of the project scope when a pre-1980 home is involved. For a homeowner doing DIY, that testing cost is real, and it’s often overlooked in the “I’ll just dry it myself” calculation. The pre-1980 materials checklist matters because it turns a $300 DIY drying job into a $700 testing-and-drying job, at which point the professional quote starts looking more reasonable.
The Equipment Gap: Consumer Fans vs. Commercial Drying Systems
Here’s a number most guides won’t give you: a standard box fan from a hardware store moves somewhere between 1,500 and 2,500 cubic feet per minute (CFM) of air. A single professional air mover from a brand like XPOWER or B-Air moves between 2,800 and 5,500 CFM, and a restoration job in a flooded room might use three to six of them. That’s not a marginal difference. That’s an order of magnitude. The speed of air movement across a wet surface is what drives evaporation, and evaporation is what lets a dehumidifier actually collect water.
The dehumidifier gap is even larger. A consumer dehumidifier from a big-box store extracts roughly 20 to 30 pints per day under ideal conditions. A commercial refrigerant or desiccant dehumidifier from Dri-Eaz or Phoenix extracts 70 to 150 pints per day, and critically, it keeps extracting at lower relative humidity levels. Why does that matter? As a room dries, the air’s relative humidity (RH) drops, and a consumer unit’s efficiency collapses at exactly the point where you still need it. The water inside wall cavities and under flooring keeps migrating outward long after the room air feels dry to your hand.
Then there’s the specialized equipment. Injectidry systems pump warm, dry air directly into wall cavities through small holes, which is how you dry the inside of a wall without tearing it out. This is standard practice for professional restoration companies working to IICRC standards. It has no practical consumer equivalent. You can rent a carpet fan and a small dehumidifier for $40 to $80 a day, but you cannot rent an Injectidry panel system, and you cannot rent the moisture meters that tell you when the wall cavity is actually dry. What you get at the rental counter is enough equipment to dry the air in the room, not the structure behind the paint.
The Three Scenarios Where DIY Drying Actually Works
We don’t tell every homeowner to call us. That would be dishonest, and it’s not the Kingswell way. There are three specific situations where a careful DIY drying job is genuinely reasonable, provided you know the boundaries and respect them:
- Category 1 water, small area, non-porous surfaces. A supply line to a washing machine burst and sprayed clean water across a tile floor. The square footage is under 15, no drywall is visibly wet, no carpet or pad is involved, and the water never touched a drain, a toilet, or exterior groundwater. You start drying within a few hours. This is the classic “wet floor, mop it up, run a fan” scenario, and it’s fine.
- Clean-water leak on concrete slab, no finishes. In San Jose, many homes have slab foundations, especially mid-century builds in West San Jose and Cambrian. A leak that puddles on a bare concrete garage or patio slab, with no finished flooring, no drywall wicking, and no insulation in the path, can be dried with a wet-vac, a fan, and patience. Concrete is porous and takes time, but it won’t grow mold in the same way that drywall or carpet pad will.
- A contained, known-source leak you caught immediately. You were home when a sink supply line failed, you shut off the valve within minutes, and the water landed on a linoleum floor in a post-1990 home. The floor is non-porous, the cabinet base didn’t sit in standing water, and you removed the toe kick to let air reach the cabinet interior. If your pre-1980 test concern doesn’t apply and you can get air moving fast, this one is manageable. Watch the cabinets for swelling; if the particle board starts to lift, the scope just expanded.
The common thread: you know the water source, the water is clean, the area is small, and no porous building material is saturated. The moment drywall, insulation, carpet pad, subfloor, or the underside of cabinetry becomes involved, the job shifts from DIY territory to professional scope. That’s not a matter of skill. It’s a matter of physics and time, which we’ll address after the cost question.
The Honest Cost Comparison: DIY vs. Professional Restoration
Let’s put real numbers on the table for a typical San Jose scenario: a supply line leak in a bathroom that soaked about 40 square feet of drywall, wet the vanity base, and migrated under sheet vinyl flooring in a post-1980 home. Here’s what a realistic DIY attempt costs, and here’s what a professionally scoped job costs:
DIY Costs (Equipment Rental, Materials, Testing, Time)
- Equipment rental: $45 per day for a carpet fan and consumer dehumidifier, 4 days minimum = $180
- Moisture meter purchase: $35 to $80 for a basic pin-type meter (you need one, and it’s not included in any rental package)
- Plastic sheeting, tape, PPE: $25 to $45
- Replacement materials: drywall, joint compound, primer, paint, trim = $120 to $300 for the area
- Asbestos testing if pre-1980: $150 to $400 (legally required in California before disturbing suspect materials)
- Your time: 2 to 4 full days, including at least two return trips to monitor moisture levels
DIY total: roughly $500 to $1,000, depending on testing and whether your first drying attempt actually works. If it doesn’t, you’re out the DIY money and still need the pro.
Professional Costs (San Jose Market Range)
- Category 1 water damage, 40 sq ft, non-structural: $1,500 to $3,200 for extraction, drying equipment, monitoring, and minor drywall repair
- Category 1 with flooring removal and cabinet drying: $2,800 to $5,500
- Category 2 or 3 water (drain backup, exterior flood): $4,000 to $10,000+ because porous materials require removal and the drying protocol is more extensive
Professional total: $1,500 to $5,500 for the typical scenario described above.
Here’s the honest framing: the DIY path can save you $1,000 to $4,000 if everything goes right. But the professional path includes something the DIY path doesn’t: a written scope of work, a moisture map, and a standard to which the job is held. If you’re weighing your options, read How to Hire a Damage Restoration Contractor in San Jose: A Step-by-Step Guide before deciding. At Dryden Restoration San Jose, that standard is the Kingswell Guarantee: a written price before work begins, a committed arrival window, a clean job site, and a written 365-Day Done Right Promise. If the repair fails within a year, we come back and correct it at no charge. That’s documented, not verbal. No DIY job carries that.
The smart use of DIY skills in this trade isn’t the drying; it’s the immediate response. Shut off the water, move valuables, mop what you can, and take photos. Those are things every homeowner should do, and they cost nothing. Then make an honest call about whether the job has crossed into porous-materials territory.
How a Failed DIY Attempt Affects Your Insurance Claim
Here’s the scenario adjusters in San Jose see regularly: a pipe fails while the homeowner is at work, water runs for hours, and the homeowner comes home to soaked carpet and wet drywall. They file a claim, the adjuster schedules a visit for a few days later, and the homeowner decides to “get ahead of it” by pulling the carpet and running fans. Three weeks later, mold is visible, the adjuster’s report notes “secondary damage,” and the claim gets complicated.
Why? Because an insurance policy generally covers sudden and accidental water damage. But secondary damage that occurs after the moment of loss, when the policyholder had access to the loss and the ability to mitigate it, is treated differently. The adjuster’s question becomes: did the homeowner’s actions make this worse? If the carpet was pulled without drying the pad underneath, if the fans were consumer units that couldn’t move enough air, if no moisture meter was used to confirm dry conditions before reinstallation, the adjuster may determine that the mold growth was preventable. That portion of the claim can be reduced or denied.
This is where a professional restoration company’s process has direct financial value. We photograph everything, we map moisture levels with meters that produce documented readings, we generate a drying log, and we communicate directly with the adjuster using the IICRC’s published drying standards as the benchmark. That’s not a sales pitch; it’s what the claim process actually requires if you want full coverage. The owner, Carl Brandt, has spent twenty years explaining this exact dynamic to San Jose homeowners, and it’s one of the reasons Dryden Restoration San Jose puts everything in writing from the first visit.
If you’re in an active claim, the move isn’t aggressive DIY. The move is mitigation that’s documented, professional, and consistent with what the adjuster expects to see. Your policy almost certainly requires you to mitigate further damage. It does not require you to be the one doing the mitigation.
Moisture Science in Plain English: RH, GPP, and Why Time Is the Enemy
You’ve probably heard the term “relative humidity” or RH. It’s the amount of moisture in the air as a percentage of what the air can hold at a given temperature. Warm air holds more moisture than cold air, which is why San Jose’s mild climate helps and hurts: the air holds plenty of moisture year-round, but it moves through a home more easily than in humid climates. Here’s what most guides leave out:
- RH drives evaporation. The drier the air moving across a wet surface, the faster that surface dries. A professional drying setup uses air movers to blast air across the wet area and dehumidifiers to pull moisture out of the air, keeping RH low so evaporation continues.
- GPP (grains per pound) is what the pros actually measure. It’s the absolute amount of moisture in the air, independent of temperature. Consumer humidistats show RH, but professional drying decisions are made on GPP, because RH alone doesn’t tell you if the air can still absorb moisture.
- Mold needs about 48 to 72 hours of sustained moisture to establish. This is why the clock matters. If you started the clock when you first noticed water and it’s been two days, mold spore colonization may already be underway inside the wall, even if you can’t see it.
- Bacteria is faster. Category 2 and 3 water (from washing machine discharge, toilet overflow, or exterior flooding) can introduce harmful bacteria in hours, not days. This is why the IICRC standard for Category 3 water requires removal of affected porous materials, not drying in place.
Psychrometric drying is the technical term for what professional restoration companies do: they measure the air’s temperature, RH, and GPP, then engineer a drying environment using the right combination of air movers, dehumidifiers, and sometimes heat. It’s applied physics, and it’s why two $30 box fans and a $200 Home Depot dehumidifier won’t dry a wall cavity. The air simply isn’t moving fast enough, and the dehumidifier can’t pull enough water out of it.
The practical takeaway for a San Jose homeowner: if you’re drying something that’s part of your building’s structure, you’re doing psychrometric drying, whether you meant to or not. Doing it without instruments is like driving with your eyes closed.
How Fire and Mold Damage Change the DIY Equation
Water is the most common DIY attempt because it feels approachable. Fire and mold are different, and the reasons are worth stating plainly.
Fire damage restoration is never a DIY job. Smoke residue is chemically complex, it penetrates porous materials, and the odors it creates require professional equipment to neutralize. A homeowner in the Blossom Valley or Santa Teresa area who tries to scrub soot off walls with a sponge and TSP is spreading particulates, not removing them. Smoke damage also interacts with water damage from fire suppression, which means the same drying expertise applies. Our Fire Damage Restoration in San Jose page covers the full scope, but the short answer on DIY is: don’t.
Mold is trickier because homeowners are constantly told they can “just bleach it.” The reality in California is that visible mold covering more than 10 square feet requires professional remediation under state law, and mold hidden inside wall cavities from a previous water loss can be 10 square feet before you see any of it. Mold Remediation in San Jose follows the same IICRC protocols, and the equipment, PPE, and containment are not available at a rental counter. If you have visible mold the size of a dinner plate or larger, or you can smell mold but can’t find it, stop and call. Treating the visible patch without addressing the moisture source behind it is a temporary fix that fails.
Common Mistakes to Avoid
- Skipping asbestos testing in a pre-1980 San Jose home. California law requires testing before disturbing suspect materials. The $150 to $400 test is cheap insurance against a five-figure abatement bill and a household health hazard.
- Assuming the water you can see is the water you have. Water travels downward and sideways through wall cavities and under flooring. If a pipe leaked inside a wall, the visible puddle is the tip of the problem.
- Using bleach on mold. Bleach does not kill mold on porous surfaces, and it adds moisture while removing visible staining. Professional remediation removes the mold and fixes the moisture source.
- Running fans for a few days and calling it dry. Without moisture meter readings from the building materials themselves, not the air, you have no way to know if the wall cavity or subfloor is actually dry.
- Pulling up carpet yourself before the adjuster sees it. If you remove materials before the adjuster documents the damage, you may have trouble proving the full scope of your claim. Photograph everything, then call your adjuster, then start mitigation.
- Assuming homeowner’s insurance will cover DIY mistakes. Secondary damage from inadequate drying after the initial loss is often treated as a separate, potentially uncovered event. The adjuster’s report will note the timeline.
When to Call a Professional
Call a professional restoration company when the water is Category 2 or 3 (from a drain, toilet, or exterior source), when porous materials like drywall, insulation, carpet, or pad are saturated, when more than 15 square feet are affected, when the home was built before 1980 and suspect materials may be involved, when you can smell mold but can’t see it, when visible mold is larger than a dinner plate, when you have a fire or smoke loss, or when the situation simply exceeds your comfort level. The wrong time to decide you need help is after mold has established and the claim has been complicated. Dryden Restoration San Jose offers free estimates in San Jose – call (669) 770-7417 and a live person answers, 24 hours a day, 7 days a week.
Frequently Asked Questions
Professional water damage restoration in San Jose typically costs between $1,500 and $5,500 for a contained Category 1 clean-water loss affecting up to 100 square feet, with more extensive jobs (Category 2 or 3 water, multiple rooms, structural drying) ranging from $4,000 to $15,000 or more. Every Dryden Restoration San Jose job includes a written price before any work starts, so the number doesn’t change at the door. Call (669) 770-7417 for a free estimate.
You can dry small, contained clean-water spills on non-porous surfaces with consumer fans and a dehumidifier, but consumer equipment cannot dry wall cavities, subfloors, or insulation. Our Water Damage Restoration Maintenance Checklist for San Jose Homeowners details the tools and steps professionals use to confirm a structure is truly dry. Those materials require commercial air movers, low-grain dehumidifiers, and moisture meters to confirm dryness, which is why most DIY drying jobs on porous materials end up needing professional intervention later.
Yes, a failed DIY drying attempt can reduce or void your insurance coverage for secondary damage. Adjusters distinguish between the original loss and damage that occurred afterward due to incomplete drying, and if your actions made the loss worse, that portion of the claim may not be covered. Professional restoration companies document the drying process in a way that supports your claim.
Yes, under California law and Cal/OSHA regulations, suspect asbestos-containing materials in pre-1980 homes must be tested before disturbance. Popcorn ceilings, vinyl floor tile, and drywall joint compound from that era commonly contain asbestos. Removing wet drywall without testing can create a health hazard and significant abatement costs after the fact.
Category 1 water is clean water from a supply line or faucet. Category 2 water contains significant contamination, such as washing machine discharge or toilet overflow without solid waste. Category 3 water is grossly contaminated, including sewage and exterior flood water, and requires removal of affected porous materials, not drying in place.
A professional restoration company with live 24/7 phone support can typically have a crew at your San Jose home within a few hours of your call. Dryden Restoration San Jose answers every call with a live person, 24 hours a day, 7 days a week, not a voicemail or call-back service, so you’ll know your arrival window when you hang up. Call (669) 770-7417 for an exact quote and estimated arrival time.
The Bottom Line
The DIY-versus-professional question in damage restoration isn’t about how handy you are. It’s about what’s hidden in your walls, what the water actually touched, and what a failed attempt costs you downstream, in dollars, in claim complications, and in your family’s health. San Jose’s pre-1980 housing stock makes asbestos testing a real factor that most online guides ignore entirely. The consumer equipment gap means the structure behind your paint isn’t drying just because the room feels dry. If your loss is small, clean, non-porous, and you catch it immediately, honest DIY is reasonable. If it’s anything else, call a professional who will give you a written price, a documented drying plan, and a written 365-day guarantee. Dryden Restoration San Jose has been serving San Jose since 2005 as part of the Kingswell family of independently owned restoration businesses.
Written by Carl Brandt, Owner at Dryden Restoration San Jose, serving San Jose since 2005.
See the difference
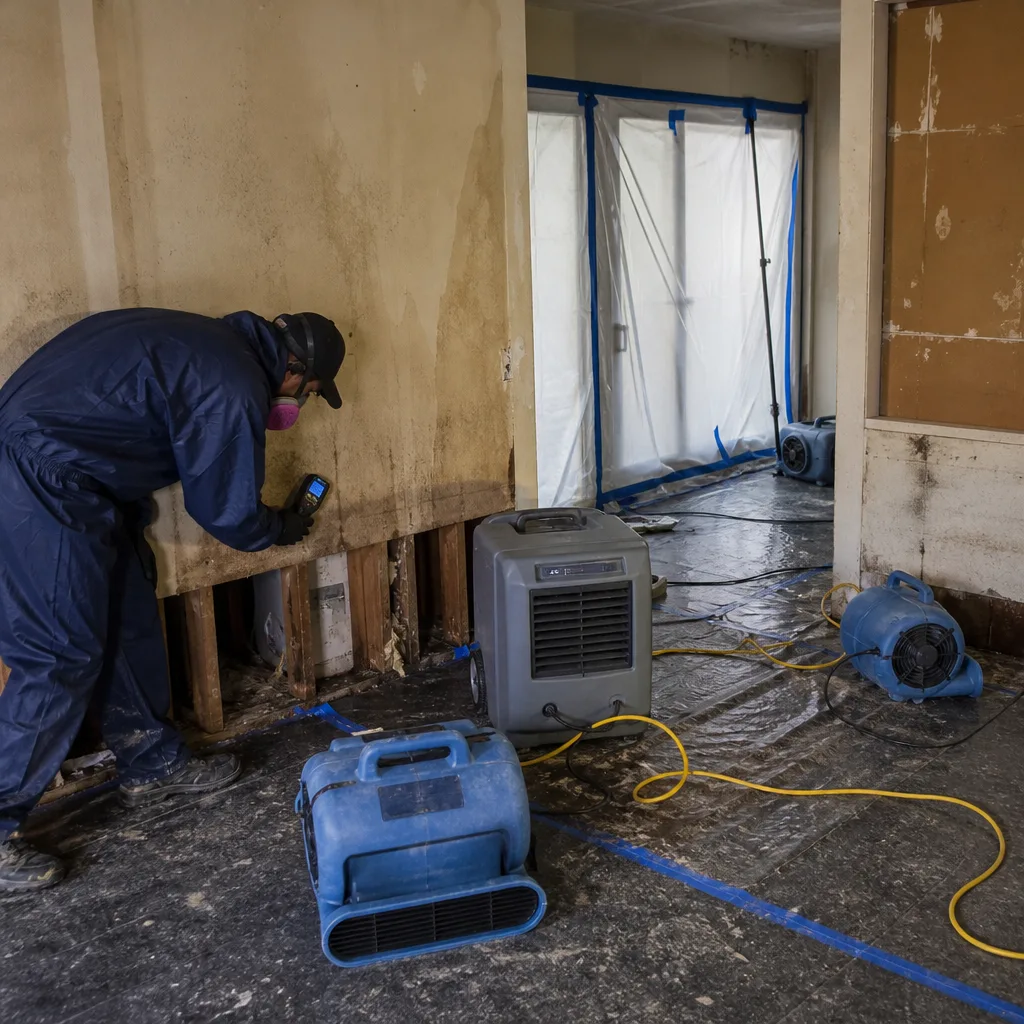 Before
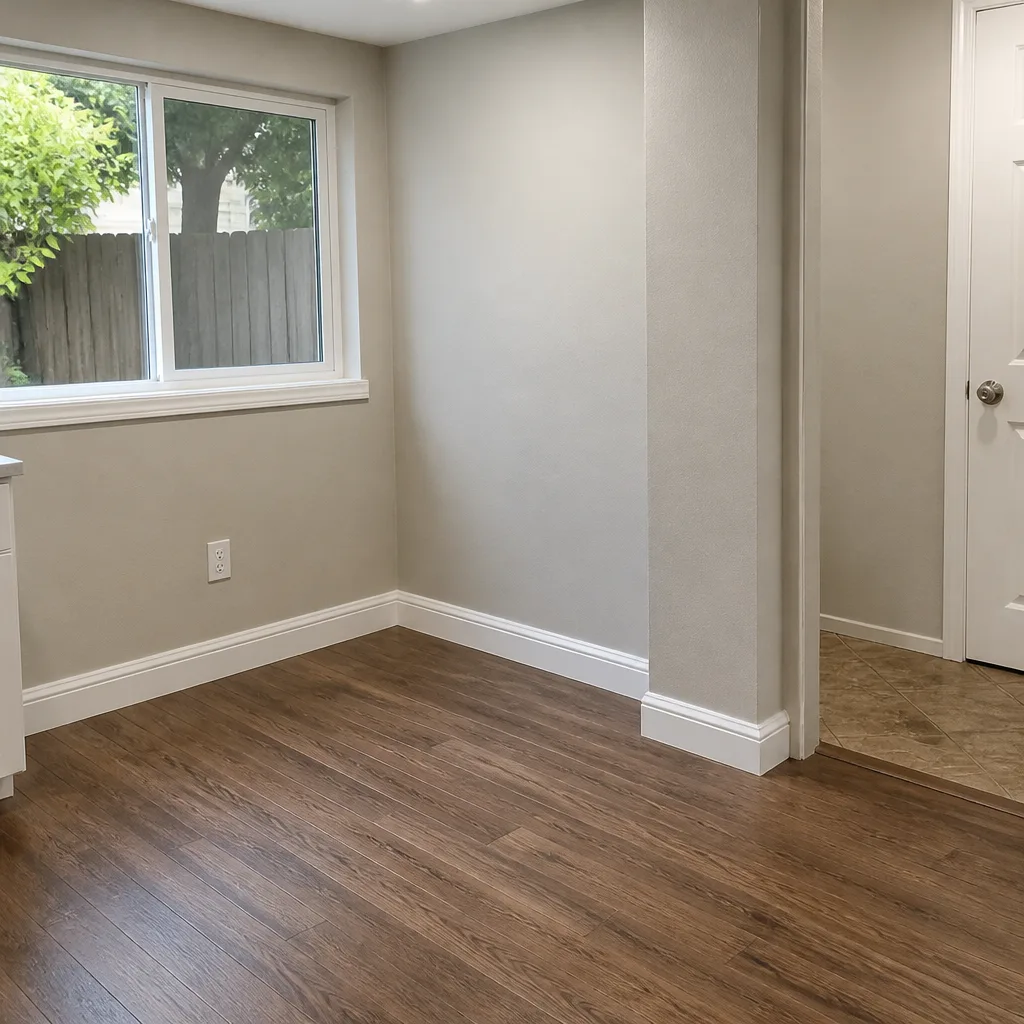 After
After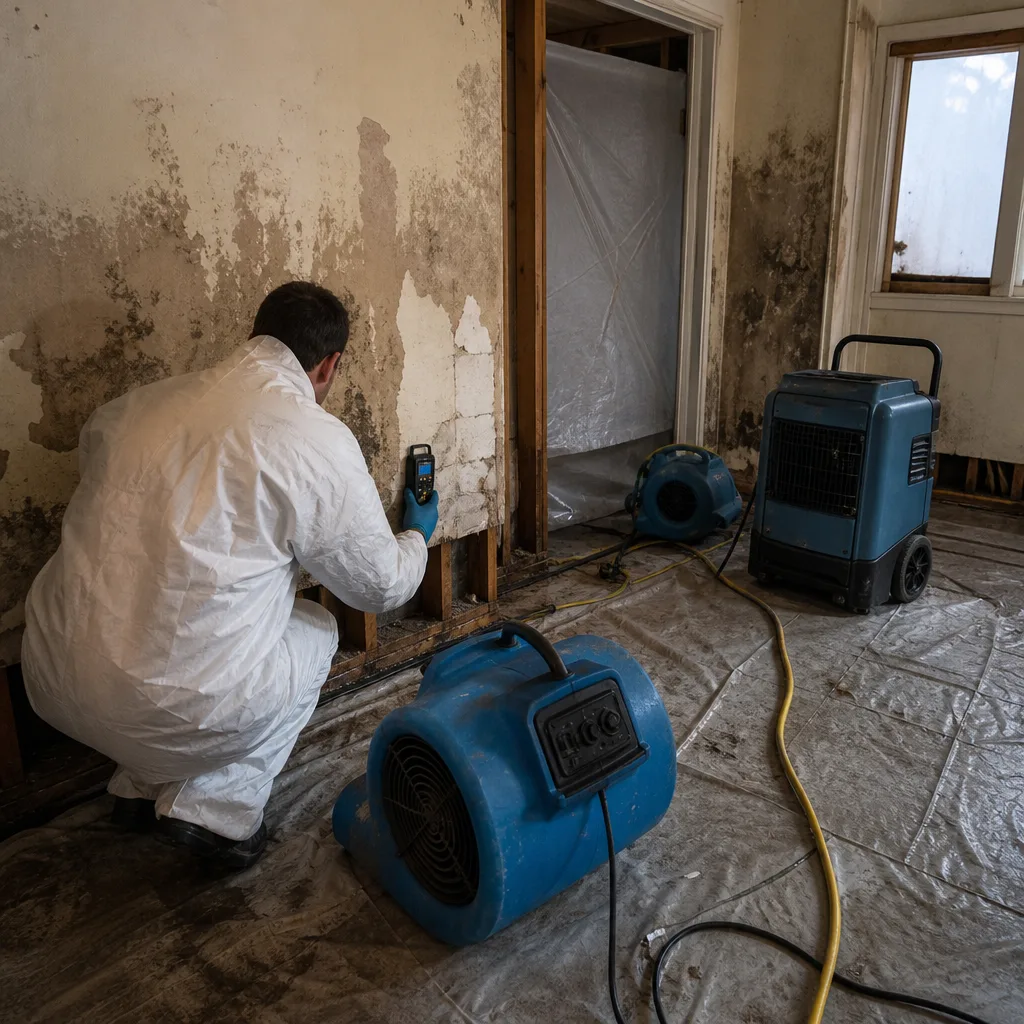 Before
 After
After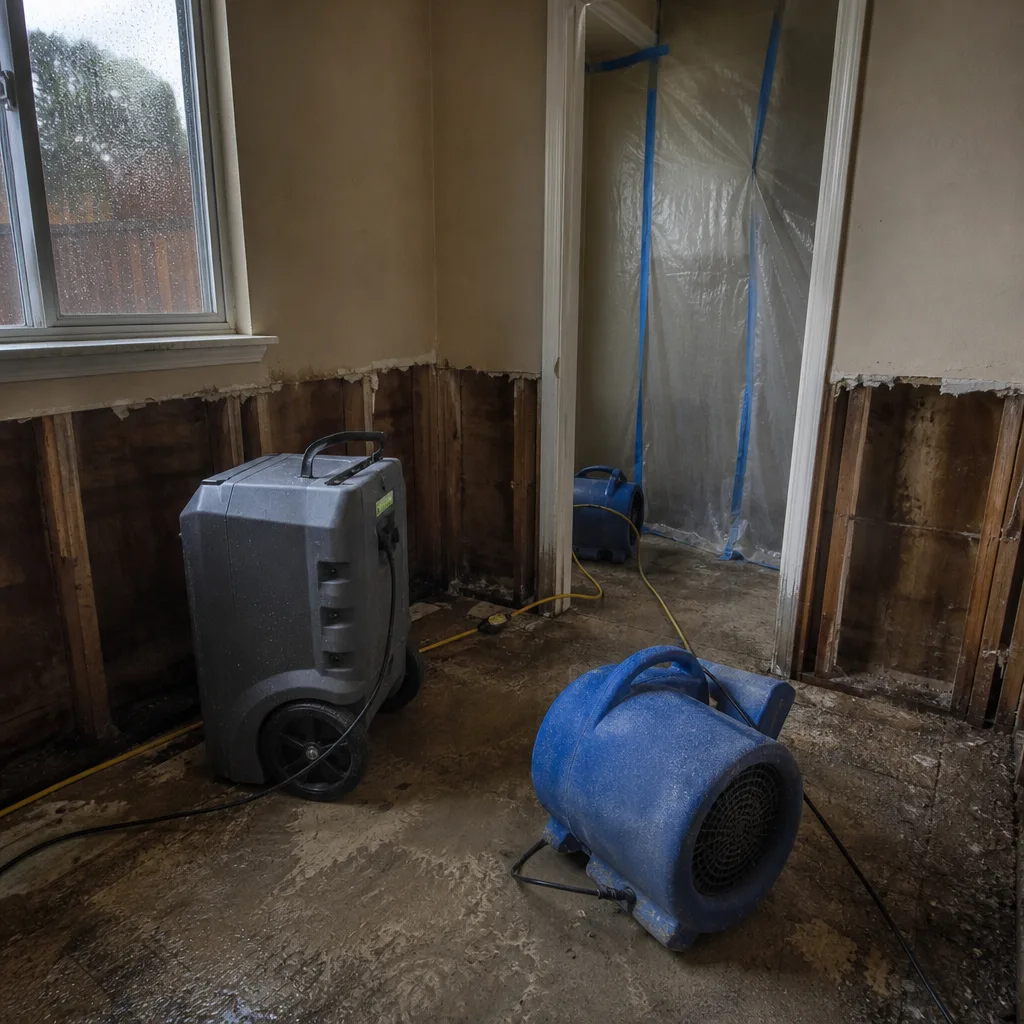 Before
 After
After