
Last updated October 16, 2026
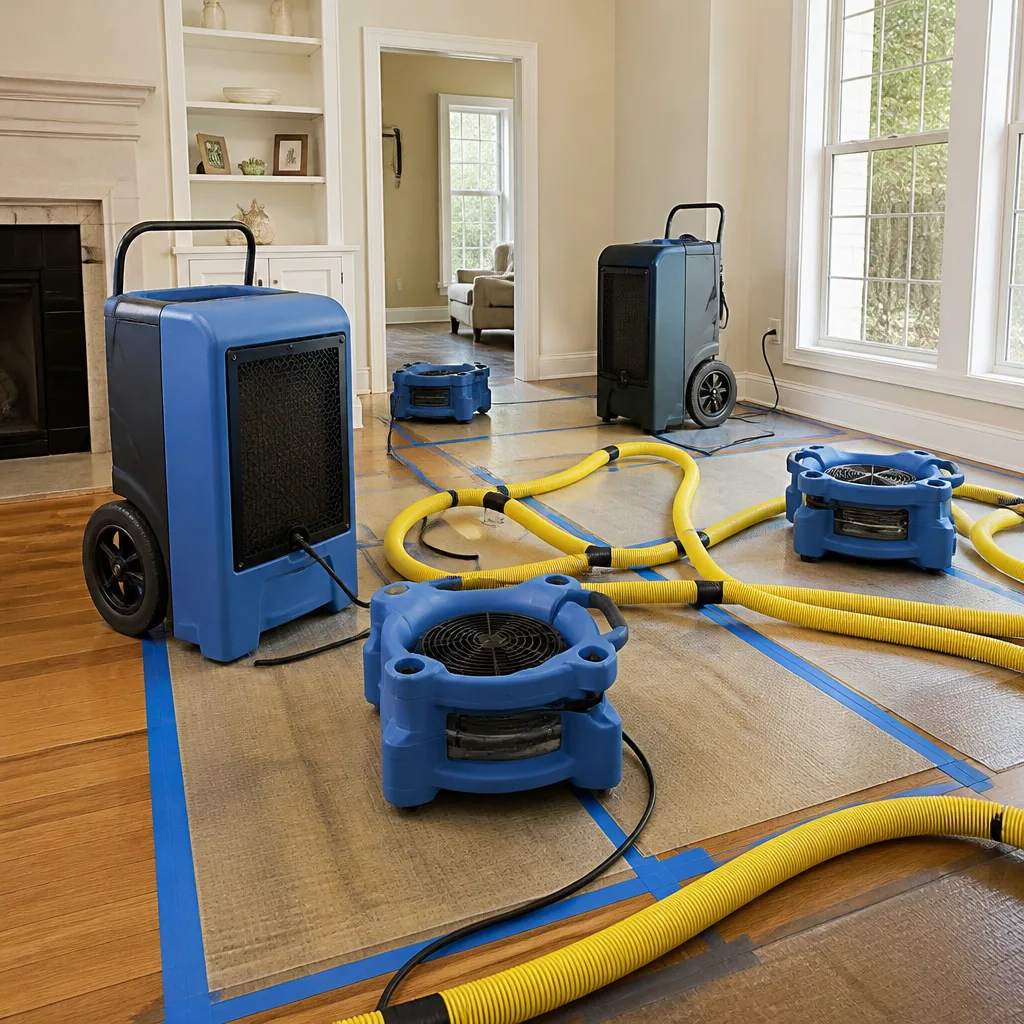 Water damage drying
 Fire & smoke cleanup
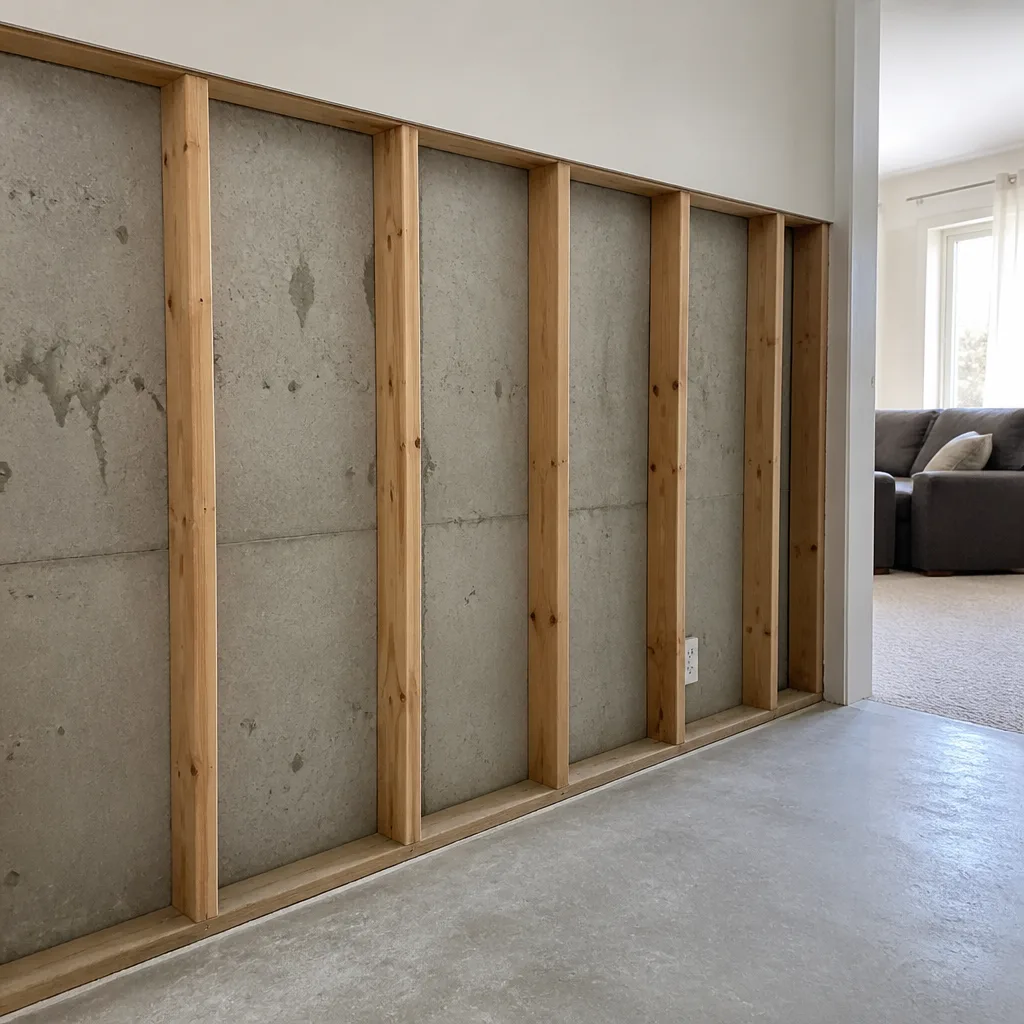 Mold remediation
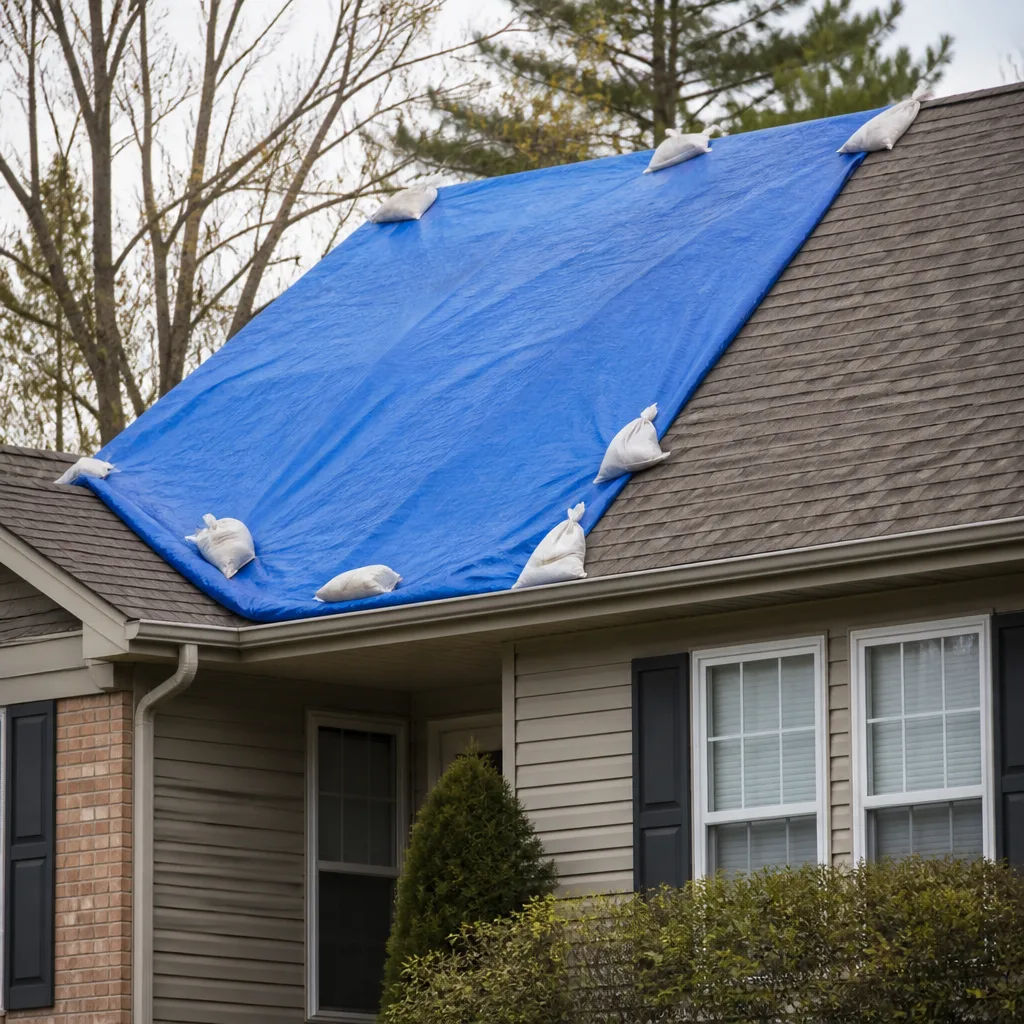 Storm response
 Sewage cleanup
 Reconstruction
Free visual inspection and a written scope of work before any mitigation begins - photos, moisture readings, and drying logs go in your claim file
The scope we write is the scope we bill. Anything new gets shown to you, in writing, before we touch it.
Get your free estimateWater Damage Restoration Maintenance Checklist for San Jose Homeowners
San Jose Water replaced or flagged over 40 miles of aging distribution pipes between 2020 and 2024. That matters more than most homeowners realize, because a pressure surge from nearby main work, not weather, is one of the most underappreciated water damage triggers in established San Jose neighborhoods like Willow Glen, Rose Garden, and Cambrian. This guide gives you a maintenance checklist timed to the conditions that actually cause homes here to fail: wet-season pressure cycles, aging supply lines, and appliance failures that follow predictable age patterns. For a deeper dive, see The Complete Guide to Damage Restoration in San Jose. We’ll cover what to check, when to check it, what the numbers mean, and when to call a professional.
Restoration work we handle
Quick Answer
A water damage prevention checklist for San Jose homeowners should be built around two anchor points: an October pre-wet-season inspection tied to San Jose’s November through March rainfall window, and a year-round habit of testing shutoff valves, checking appliance supply lines, and documenting your home’s condition with dated photos. The most common failures we see are silent ones: a main shutoff valve that won’t turn, a water heater supply line that’s been corroding for a decade, and a refrigerator line that’s been slowly weeping behind the cabinet for months.
Table of Contents
- The October Pre-Wet-Season Checklist for San Jose Homes
- How to Test Your Main Shutoff Valve (And Why Half of Pre-1990 Homes Fail)
- Appliance-Specific Leak Risk: Water Heaters, Dishwashers, Refrigerator Lines
- Crawl Space and Subfloor Moisture: What Numbers Are Normal for San Jose
- The Photo-and-Date Documentation Habit That Makes Insurance Claims Faster
- San Jose’s Seasonal Rhythm: When to Do What
- Common Mistakes to Avoid
- When to Call a Professional
- Frequently Asked Questions
- The Bottom Line
The October Pre-Wet-Season Checklist for San Jose Homes
San Jose’s rain falls almost entirely between November and March, with January and February typically bringing the heaviest downpours. That means October is the month to prepare, not December when the first big storm is already soaking your roof deck. We recommend walking through this checklist on a dry weekend in mid-October, before the first atmospheric river arrives.
Here’s the step-by-step October inspection, in order of leak likelihood based on what we’ve seen in San Jose homes over two decades:
- Clean and inspect gutters and downspouts. Clogged gutters send water over the fascia and down exterior walls, saturating wall cavities and eventually showing up as interior staining. In neighborhoods with mature trees like Naglee Park or Shasta Hanchett Park, leaves and pine needles accumulate fast. Extend downspouts at least three feet from the foundation.
- Check the roof for lifted shingles, cracked flashing, and worn pipe boots. You don’t need to climb up. Walk the perimeter with binoculars or use a phone camera at full zoom. Look for missing granules in gutters, which signal shingle wear.
- Inspect the perimeter of your foundation. After the first rain, walk around the house and look for water pooling against the slab or foundation walls. The grade should slope away from the house at least six inches over the first ten feet. Soil settles over time, especially in areas with clay-heavy soil like the East Side foothills, and regrading is sometimes needed.
- Test the sump pump if your home has one. Pour a bucket of water into the pit and confirm the float triggers and the pump discharges at least ten feet from the foundation. Homes built on the valley floor near the Guadalupe River or Coyote Creek floodplain depend on these pumps when groundwater rises.
- Check outdoor hose bibs. Disconnect hoses before the first freeze risk (usually late November in San Jose’s microclimates). A frozen hose bib can crack and leak inside the wall, often not discovered until spring when the hose is reconnected.
- Inspect crawl space vents. Close them partially before the wet season if your home has operable vents. San Jose’s mild winters mean you can usually leave some airflow, but the key is preventing wind-driven rain from entering.
This October checklist is prevention aimed at San Jose’s specific rainfall pattern. It’s not the same list you’d use in Seattle or Chicago. Our Water Damage Restoration in San Jose guide covers what to do when prevention fails and water has already intruded.
How to Test Your Main Shutoff Valve (And Why Half of Pre-1990 Homes Fail)
Every water damage restoration professional will tell you the same thing: the most important minutes after a pipe bursts are the ones before the water gets shut off. If your main shutoff valve doesn’t turn, those minutes turn into hours of damage. The problem is that valves that haven’t been exercised in years seize up, and by the time you need to turn them, they won’t budge.
In our experience working across San Jose, homes built before 1990 are the most likely to have a main shutoff valve that fails silently. The rubber washers inside gate valves degrade over two to three decades, and the stems corrode. A homeowner only discovers this when a supply line bursts at 2 AM and the valve refuses to close.
Here’s how to test your main shutoff valve safely:
- Locate the valve. In San Jose homes, the main shutoff is usually where the water line enters the structure, typically in the garage, on an exterior wall near the front of the house, or in a utility closet near the water heater. If you can’t find it, check your property inspection report or call the water department for guidance.
- Inspect before turning. Look for visible corrosion, mineral buildup, or leaking around the stem. If the valve is heavily corroded, do not force it. Call a licensed plumber to have it replaced. A broken valve stem in the closed position is an emergency.
- Turn the valve clockwise to close it. Use slow, steady pressure. If it resists, stop. Apply penetrating oil to the stem and wait a few hours, then try again. If it still resists, get a plumber involved rather than risking a cracked valve body.
- Once closed, open a faucet inside the house to confirm the water stops. Go to the lowest faucet, usually in a basement or first-floor bathroom, and turn it on. It should quickly run dry.
- Reopen the valve fully. Turn it counterclockwise until it stops, then close it a quarter turn back from fully open. This prevents the valve from seizing in the fully open position, a trick plumbers use on valves that are rarely operated.
Test this valve every October as part of your pre-wet-season routine, and again in spring. If your valve is original to a home built in the 1960s or 1970s, budget $250 to $450 for a plumber to replace it with a modern ball valve. Ball valves use a simple quarter-turn mechanism that rarely fails, even after decades of neglect. That’s cheap insurance compared to the $4,000 to $12,000 average cost of our Water Damage Restoration services in San Jose.
As the owner of Dryden Restoration San Jose home services, I’ve walked into too many houses where the damage could have been stopped in five minutes if the valve had worked. This is the single highest-leverage maintenance check on this list.
Appliance-Specific Leak Risk: Water Heaters, Dishwashers, Refrigerator Lines
Appliances fail on predictable timelines, and the failures are almost always in the connections, not the appliances themselves. Rubber hoses dry out, braided stainless lines develop pinhole leaks from corrosion, and plastic fittings crack under temperature cycling. Here’s what San Jose homeowners should know about the three most common appliance leak sources.
| Appliance | Typical Leak Source | Realistic Failure Age | Replacement Cost Benchmark |
|---|---|---|---|
| Water heater | Supply lines, tank corrosion, TPR valve discharge | 8-12 years for tank; supply lines fail earlier | $1,800-$3,500 installed (tank); $20-$60 (supply lines) |
| Dishwasher | Door gasket, drain hose, supply line fitting | 7-10 years for hoses and gaskets | $15-$45 (hose/gasket kit); $400-$900 (replace unit) |
| Refrigerator (ice maker/water dispenser) | Supply line, saddle valve, internal filter housing | 5-8 years for supply lines | $15-$35 (supply line); $80-$150 (filter housing) |
| Washing machine | Rubber supply hoses, drain hose | 3-5 years for rubber; 8-10 years for braided steel | $15-$40 (hose set) |
The failure pattern we see most often in San Jose is the water heater supply line. Homes with hard city water, which includes most of San Jose, develop mineral deposits inside the tank that accelerate tank corrosion. Once a tank passes the ten-year mark, the risk of a catastrophic tank rupture climbs sharply. A ruptured 50-gallon water heater in a garage or upstairs utility closet releases enough water to flood multiple rooms in under an hour.
For dishwashers, the most common slow leak is the door gasket. Because the dishwasher sits under a counter, a failing gasket drips water onto the subfloor for months before anyone notices. By the time you see buckling hardwood or soft vinyl, the moisture has been working on the subfloor for a long time. Check for white mineral residue around the gasket edge and listen for water sounds during the fill cycle.
Refrigerator water lines deserve special attention in older San Jose homes. Many were installed with saddle valves, which clamp onto a copper pipe and pierce it with a needle. These valves fail frequently and are prohibited by current plumbing codes, yet thousands remain in service. If your refrigerator line connects via a saddle valve, have a plumber replace it with a proper quarter-turn shutoff and a braided stainless supply line. The parts cost under $50.
If you’ve already had an appliance leak, our Mold Remediation in San Jose page explains what happens when water sits long enough to become a mold problem.
Crawl Space and Subfloor Moisture: What Numbers Are Normal for San Jose
San Jose’s climate is Mediterranean: wet winters, dry summers, and relatively low humidity most of the year. That means crawl space moisture readings that would be normal in the Southeast are red flags here. Homeowners should know what numbers to expect and what crosses into problem territory.
In San Jose’s climate, here’s the practical guidance:
- Wood moisture content (MC) between 8% and 12% is normal for subfloor framing and floor joists during the dry season (April through October).
- Wood MC above 16% is the threshold where mold can begin growing on wood surfaces, and above 20% indicates active water intrusion or a significant humidity problem.
- Relative humidity (RH) in the crawl space below 60% is the target. Above 65% RH during the wet season signals inadequate ventilation or groundwater seepage.
- Standing water in a crawl space after a rain event is never normal in San Jose, even during heavy storms. It indicates a drainage or waterproofing problem that needs professional attention.
In our restoration work, we use professional-grade moisture meters from brands like Dri-Eaz and Phoenix to map moisture in crawl spaces and subfloors. But any homeowner can buy a basic pinless moisture meter for $30 to $60 at a hardware store and take monthly readings. Write the numbers down. A steady increase from October through February is expected as the ground gets wetter. A sudden jump from 12% to 18% in a week means water is getting in somewhere it shouldn’t.
San Jose’s clay soils expand when wet and shrink when dry, which causes foundation movement. Hairline cracks in foundation walls open and close with the seasons. During the wet season, groundwater pressure increases, and those cracks can weep. If you notice dark staining on foundation walls in the crawl space or a musty smell that intensifies after rain, the moisture barrier on the crawl space floor is probably compromised or missing.
Vapor barriers are critical in San Jose’s wet-dry cycle. If your crawl space has exposed dirt, install a 6-mil or thicker polyethylene vapor barrier now. The material costs roughly $200 to $400 for a typical 1,200-square-foot crawl space, and it prevents gallons of groundwater vapor from rising into your subfloor every year. This is one of the highest-value, lowest-cost prevention steps a San Jose homeowner can take.
The Photo-and-Date Documentation Habit That Makes Insurance Claims Faster
When water damage happens, the insurance claim process moves faster and pays out more completely when the homeowner can document what the affected areas looked like before the damage occurred. Most homeowners can’t, because they never took baseline photos. This habit costs nothing and takes fifteen minutes twice a year.
Here’s the system we recommend to every homeowner in San Jose:
- Photograph every room in your home twice a year. Once in October, once in April. Use your phone. Shoot wide shots of each room, then close-ups of floors, baseboards, under-sink cabinets, water heater, and appliance connections.
- Photograph your crawl space or basement. Three or four shots showing the floor joists, foundation walls, and any plumbing runs. These are the photos that document the “before” condition of your subfloor.
- Photograph your water heater. Include the serial number plate and a close-up of the supply lines and TPR valve. If the tank fails, you’ll have proof of the tank’s condition before the event.
- Date every photo. Most phones do this automatically. If you print or copy them, retain the metadata.
- Store them where you can find them. A dedicated folder in your cloud storage named “Home Documentation” is fine. The key is that they exist somewhere accessible.
When you file an insurance claim, the adjuster wants to know two things: what the area looked like before the damage, and whether the damage was sudden and accidental rather than a long-term maintenance failure. Dated photos from three months before a pipe burst prove both. Homeowners who keep this photo record consistently report faster claim approvals and fewer disputes over depreciation.
This documentation habit also matters for the warranty we issue. Our 365-Day Done Right Promise means we stand behind our restoration work for a full year, and having baseline photos from before we started makes any claim under that warranty simple to resolve. The documentation standard is the same one we use in our Fire Damage Restoration in San Jose work, where pre-loss photos are essential for accurate replacement valuations.
San Jose’s Seasonal Rhythm: When to Do What
A maintenance checklist only works if it’s timed to the conditions that actually cause San Jose homes to fail. Those conditions don’t follow a simple monthly calendar. They follow the city’s wet-season pressure cycles and aging infrastructure patterns.
Here’s the seasonal rhythm we recommend:
October: Pre-Wet-Season Inspection
This is your most important maintenance window. Complete the October checklist above: gutters, downspouts, roof, foundation grade, shutoff valve test, sump pump test, and baseline photos. San Jose gets most of its rain between November and March, and the first storms are often the most damaging because the ground is dry and drainage systems haven’t been exercised.
November through March: Monitoring Season
During the wet months, check your crawl space moisture readings monthly. After each major storm, do a quick perimeter walk to look for ponding water, overflowing gutters, or new cracks. Listen for dripping sounds inside walls during heavy rain. If you notice anything unusual, document it with photos and a written note about the date and weather conditions.
April: Post-Wet-Season Assessment
Once the rain stops, do a complete inspection of the exterior for storm damage, check the crawl space for any signs of moisture during the wet season, and take your second set of baseline photos. If you noticed elevated moisture readings during the winter, April is the time to investigate and fix drainage or waterproofing issues before the dry season.
Year-Round: Appliance and Valve Checks
Some checks belong on a monthly or quarterly rhythm. We recommend checking under-sink plumbing connections quarterly, testing the TPR valve on your water heater every six months (the lever on the side that releases pressure; consult your tank’s manual for the correct procedure), and replacing washing machine hoses every five years regardless of appearance.
Dry Season Note: Leak Detection
San Jose’s dry season from May through September is actually the easiest time to detect slow leaks, because there’s no rain to explain away moisture. If you see water staining or a musty smell in the summer, it’s almost certainly a plumbing leak, not weather. Dry season leaks get investigated immediately in our book, not after the next storm.
Common Mistakes to Avoid
- Only checking gutters when it rains. By the time rain is falling, the gutter is already doing its damage. Clean and inspect in October, before the wet season starts.
- Assuming the main shutoff valve works because it’s there. Valves that haven’t been turned in years seize. Test it every October, and decide then whether to have it replaced while you’re not under pressure.
- Ignoring a slow drip under the sink because it’s “just a few drops.” A drip that evaporates into the cabinet interior raises humidity inside an enclosed space for months. That’s exactly the condition that grows mold inside cabinets and wall cavities.
- Replacing a water heater only when it fails. A water heater that fails catastrophically floods your home. Tanks past ten years old in San Jose’s hard water conditions are on borrowed time. Budget for replacement before the tank decides for you.
- Skipping the crawl space because it’s unpleasant. The crawl space is where most subfloor moisture problems begin. A five-minute monthly check with a moisture meter catches problems early, when repairs cost hundreds instead of thousands.
- Assuming insurance covers everything. Insurance typically covers sudden and accidental damage, not maintenance failures. A slow leak that’s been running for months is often denied. The photo documentation habit above is your best protection against that denial.
- Waiting for a problem to start a maintenance routine. The most expensive water damage in San Jose homes we see is the kind that could have been prevented by a $20 hose, a $300 valve replacement, or a $200 vapor barrier. Prevention is boring, and boring works.
When to Call a Professional
Some situations call for professional help rather than a maintenance checklist. Call a water damage restoration professional immediately if water is spreading across floors, saturating walls, or seeping through ceilings. Call if you taste or smell mold but can’t see it, if your water bill spikes unexpectedly without an obvious cause, or if the main shutoff valve won’t turn and you can’t stop active water flow. Call if storm water is entering your home through the roof or foundation. In these scenarios, speed matters more than the cost of the call. Dryden Restoration San Jose offers free estimates in San Jose, and we answer the phone with a live person 24 hours a day. Call (669) 770-7417 and we’ll tell you honestly whether this is something you can handle yourself or whether you need professional equipment and expertise.
Frequently Asked Questions
Test your main water shutoff valve twice a year, in October and April. Operate it fully closed and fully open each time to prevent seizing. If it resists turning, call a plumber to replace it before you need it in an emergency.
The most common causes of water damage in San Jose homes are water heater failures, washing machine hose bursts, and plumbing supply line leaks in walls or slabs. Supply line failures peak in homes built in the 1960s through 1980s, where original copper and galvanized piping has reached the end of its service life.
Use a moisture meter to check wood moisture content in the crawl space. Readings above 16% indicate a problem. Also watch for musty odors, condensation on ductwork or pipes, dark staining on foundation walls, and visible mold. Any of these signals warrant investigation before the wet season intensifies the problem.
Most homeowner’s insurance policies cover sudden and accidental water damage, like a burst pipe or a water heater that fails catastrophically. They typically exclude damage from long-term leaks, neglected maintenance, or gradual deterioration. Your photo-and-date documentation habit is your best defense if the adjuster questions when the damage started.
Water damage restoration in San Jose typically costs $2,500 to $8,000 for a contained single-room incident, $8,000 to $20,000 for multi-room damage involving structural drying, and $20,000+ for extensive damage requiring full reconstruction. See our Damage Restoration Cost Breakdown: The San Jose Homeowner’s Reference for 2026 for detailed pricing factors. These ranges depend on the extent of water migration, the building materials involved, and how quickly the water was stopped. Call (669) 770-7417 for an exact quote, estimates are free.
Mold can begin growing within 24 to 48 hours of water intrusion in San Jose’s warm indoor temperatures. The faster the drying process starts, the lower the chance of mold taking hold. Professional restoration crews arrive with commercial drying equipment to stop that clock.
The Bottom Line
Water damage prevention in San Jose comes down to timing. The October pre-wet-season checklist catches the drainage and exterior issues before the rain arrives. The year-round valve and appliance checks catch the silent failures before they release water into your home. The photo documentation habit protects your insurance claim when something does go wrong. None of this is complicated, and none of it is expensive compared to the alternative. A $30 moisture meter, a $15 supply line, and a Saturday morning in October can prevent the kind of damage that costs tens of thousands to restore. We’ve been restoring water damage in San Jose homes since 2005, and the homeowners who maintain these habits are rarely the ones we meet under emergency conditions. For more guides & resources, visit our blog.
Written by Carl Brandt, Owner at Dryden Restoration San Jose, serving San Jose since 2005.
See the difference
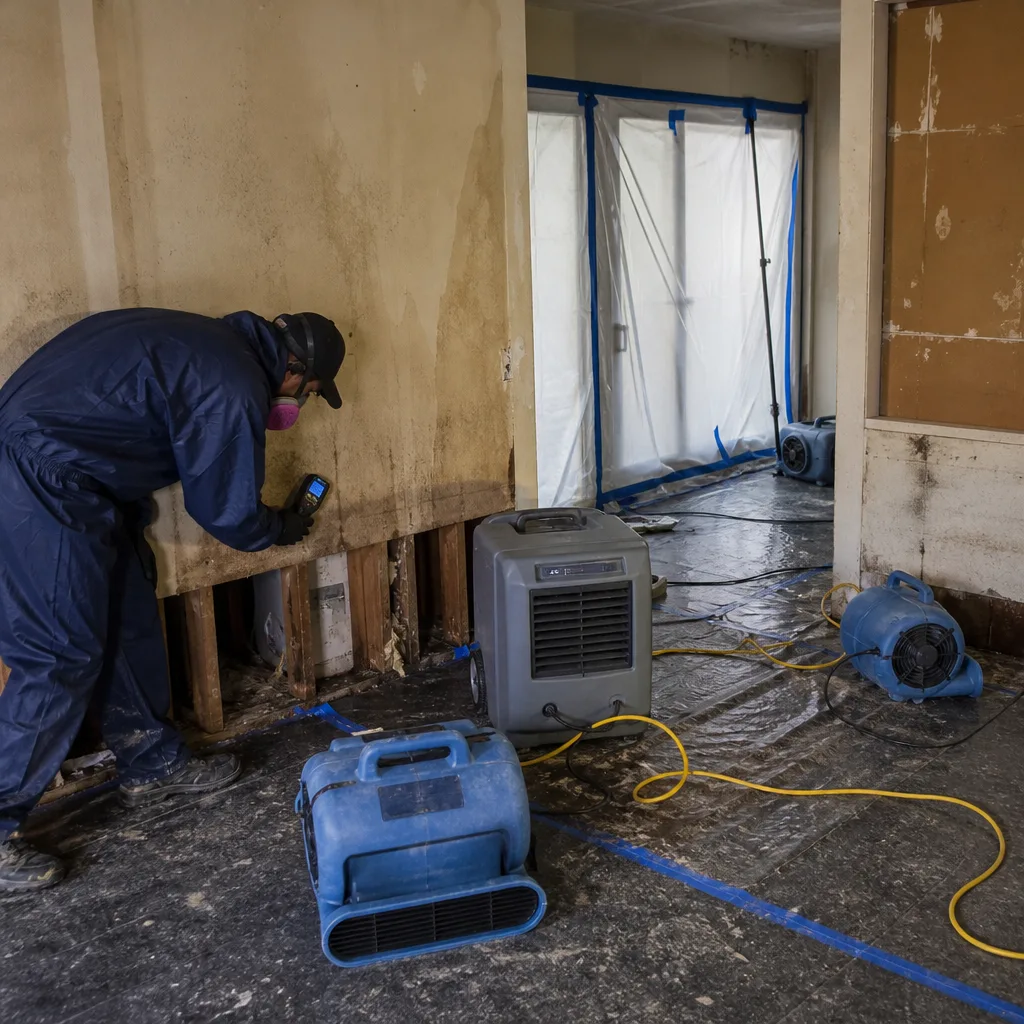 Before
 After
After Before
 After
After Before
 After
After