
Last updated October 16, 2026
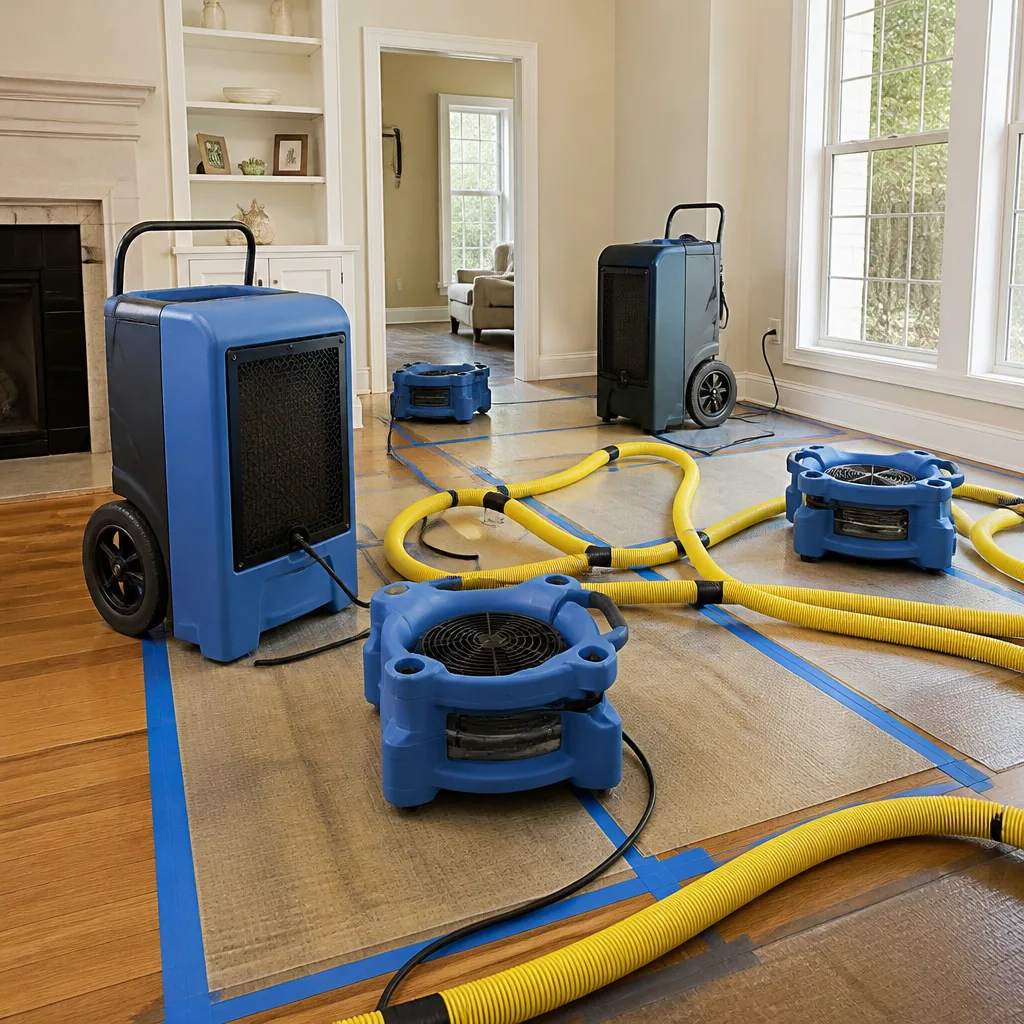 Water damage drying
 Fire & smoke cleanup
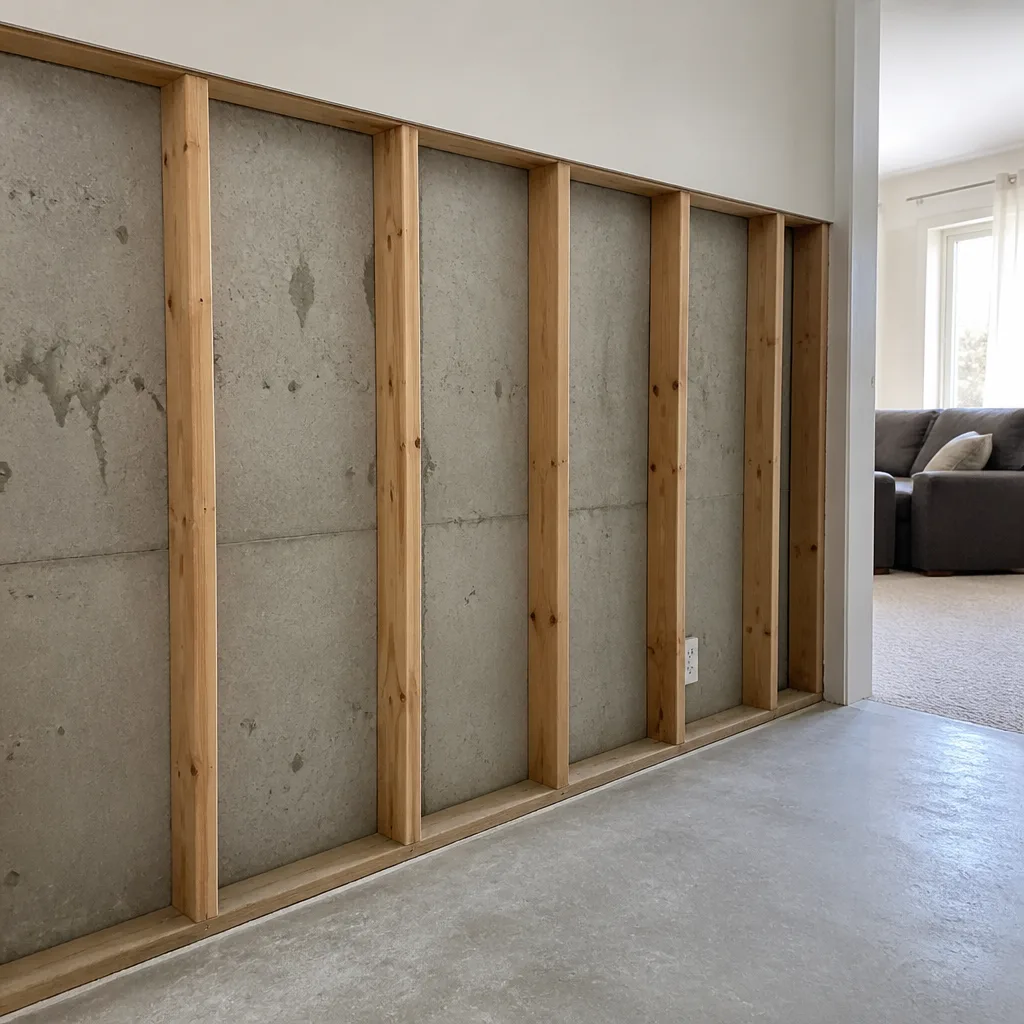 Mold remediation
 Storm response
 Sewage cleanup
 Reconstruction
Free visual inspection and a written scope of work before any mitigation begins - photos, moisture readings, and drying logs go in your claim file
The scope we write is the scope we bill. Anything new gets shown to you, in writing, before we touch it.
Get your free estimateDamage Restoration Warning Signs: A San Jose Homeowner’s Reference Guide
A musty smell that only appears when the HVAC runs is almost never “just dust.” It’s one of the earliest detectable signs of microbial growth inside ductwork or behind supply vents, and in San Jose homes it typically appears 30 to 90 days before visible staining does. That window, the quiet stretch where the problem is real but invisible, is where restoration costs quietly double. This guide walks through what to look for, what the readings mean, and when a homeowner in San Jose should stop watching and start calling. For seasonal damage restoration care for San Jose, see our year-round homeowner’s guide.
Restoration work we handle
Quick Answer
The most reliable early warning signs of water damage in a San Jose home are a musty odor that intensifies when the HVAC runs, baseboards pulling away from walls, paint or drywall that feels cool to the touch in dry weather, water bills that tick upward without explanation, and exterior stucco discoloration along the foundation line. Any of these, especially two or more in the same area, warrants a professional moisture assessment within days, not months. Structural repair costs in San Jose typically run 2.5 to 4 times higher when active moisture is left untreated for more than 60 days.
Table of Contents
- The “Explain-Away” Pattern: Five Signs San Jose Homeowners Dismiss for 60+ Days
- The 15-Minute Visual Inspection: Three High-Risk Zones in a San Jose Home
- Moisture Meter Readings in Plain Numbers: Safe, Borderline, and Remediation Territory
- Cosmetic Stain or Active Moisture Problem? The One-Touch Field Test
- When to Monitor vs. When to Call: A Simple Decision Matrix
- San Jose-Specific Factors: Climate, Construction, and Why Timing Matters Here
- Common Mistakes to Avoid
- When to Call a Professional
- Frequently Asked Questions
- The Bottom Line
The “Explain-Away” Pattern: Five Signs San Jose Homeowners Dismiss for 60+ Days
In our experience across San Jose neighborhoods from Willow Glen to Almaden Valley, the damage we eventually remediate almost always started with a sign the homeowner noticed and explained away. The pattern is consistent: a smell attributed to pets or old carpet, a stain blamed on a spilled glass, a warped cabinet door chalked up to age. Meanwhile, moisture keeps working through drywall, subfloor, and framing. Here are the five signs homeowners routinely dismiss for two months or longer, and what’s actually happening while they wait.
1. The intermittent musty smell, especially when the AC kicks on. Homeowners tell themselves it’s dust burning off the coils or a dirty filter. What it actually indicates is microbial growth inside the duct run or on the drywall behind a supply register. By the time the smell becomes consistent, the colony is typically well established. The fix moves from cleaning to full mold remediation in San Jose, which is materially more expensive.
2. Baseboards that have separated from the wall by an eighth of an inch or less. This gets blamed on house settling, and San Jose does have expansive clay soils in some areas that legitimately cause movement. But when the gap appears in one room only, or on one wall, the more common cause is subfloor or wall-plate swelling from slow moisture exposure. The wood expands, pushes the baseboard outward, and the gap widens imperceptibly week by week.
3. Paint that feels cool or clammy in a specific area, days after any rain. San Jose’s dry summers mean a localized cool spot on an interior wall is unusual. Homeowners touch it, notice the chill, and forget about it. What they’re feeling is evaporative cooling: moisture behind the drywall wicking through and evaporating off the surface. The wall is actively wet while they wait.
4. A water bill that creeps up $15 to $40 per month with no change in household habits. This one is easy to dismiss because the increase is gradual and bills fluctuate seasonally. But San Jose Water customers who compare year-over-year usage often see the pattern: a slab leak or a pinhole in a supply line behind a wall, leaking slowly enough to never pool but steadily enough to saturate the surrounding structure.
5. Exterior stucco discoloration at the foundation line that never fully dries. Homeowners assume it’s just irrigation overspray or morning dew. But a persistent dark band along the bottom of the stucco, particularly on the south and west exposures, often means water is wicking up from saturated soil at the foundation. Gutters that discharge too close to the slab or a broken underground drain line are common culprits in the San Jose foothills communities.
Each of these signs, handled in the first two weeks, typically resolves with a targeted repair plus drying. Handled after two months, the same problem usually requires demolition, drying, and rebuild. The physics doesn’t change; the budget does.
The 15-Minute Visual Inspection: Three High-Risk Zones in a San Jose Home
You don’t need training or equipment to catch most early water damage. You need to look in the right places with a flashlight and a willingness to open cabinets you haven’t opened in a year. Here’s a step-by-step inspection of the three zones where hidden leaks most often start in San Jose homes, which range from 1950s ranchers in Cambrian Park to newer construction in Evergreen. For how to hire a damage restoration contractor in San Jose, see our step-by-step guide.
Step 1: Under-Sink Cabinets (Both Kitchens and Bathrooms)
- Clear out the cleaning supplies until you’ve reached the cabinet floor.
- Run your hand along the back wall, the floor, and the underside of the counter around the sink basin. Feel for dampness, roughness, or swelling.
- Look at the shutoff valves and supply lines. Green corrosion on the copper, rust on the escutcheon plate, or white mineral deposits are all evidence of slow seepage.
- Check the particle board floor of the cabinet. If it has swollen, darkened, or started to crumble at the seams, water has been reaching it for weeks or months.
- Sniff. The inside of a dry cabinet in a San Jose summer should smell like wood and whatever you store there. A sour, earthy, or mushroom-like odor means microbial activity is already present.
Step 2: The Water Heater Closet
- Look at the floor of the closet or the pan under the tank. A pan with standing water is an obvious red flag, but a dry pan with a white chalky residue tells you it has overflowed in the past.
- Inspect the area where the cold-water inlet and hot-water outlet connect to the tank. These are the two most common leak points on a water heater after the drain valve.
- Check the TPR (temperature and pressure relief) discharge pipe. If the pipe has dripped recently, you’ll see water staining or mineral buildup at its end.
- Look at the surrounding wall framing if visible. Darkened wood, especially at the base plate, indicates the leak has been active long enough to saturate structural lumber.
Step 3: The Exterior Foundation Line
- Walk the full perimeter of the house. You’re looking for any section of stucco or siding within a foot of the soil that’s darker than the rest of the wall.
- Check the soil grade. It should slope away from the house by about one inch per foot for at least six feet. Where it’s flat or slopes toward the slab, water pools after rain or irrigation.
- Look at downspout discharge points. If a downspout dumps water within three feet of the foundation, that section of soil is getting far more water than it can absorb and drain.
- Note any cracks in the stucco wider than a hair. Cracks themselves aren’t necessarily water damage, but they’re entry points for water when combined with poor drainage.
Fifteen minutes, three zones, and you’ll know more about your home’s risk than most homeowners know after five years of living there.
Moisture Meter Readings in Plain Numbers: Safe, Borderline, and Remediation Territory
When we begin an assessment in a San Jose home, one of the first tools out of the van is a moisture meter. The numbers it produces tell us whether a wall, floor, or ceiling is genuinely wet, superficially damp, or bone dry. The good news is that the numbers are easy to understand once someone explains them. Here’s what the readings actually mean, with context for San Jose’s ambient relative humidity, which typically runs 20% to 40% in summer and 60% to 80% in winter.
- Below 8% moisture content in wood: This is normal and dry. A wall stud or subfloor in a San Jose home with no water exposure will typically read 5% to 8%.
- 8% to 12%: Borderline elevated. The material has been exposed to moisture at some point, but depending on the material and location, it may simply be responding to seasonal humidity. We flag this and re-check.
- 12% to 17%: Actively elevated. This is the range where drywall begins to soften, wood swells perceptibly, and mold spores that are present in every home can begin to germinate. In San Jose’s climate, this range sustained for more than a few days usually means an active leak or capillary wicking.
- Above 17% in wood: This is remediation territory. Wood at 17% moisture content or higher is wet enough to support rapid microbial growth. Structural drying equipment, such as Dri-Eaz dehumidifiers and high-velocity air movers, is required to bring it back to safe levels.
- Above 20%: Saturated. At this point, wood is wringing wet by touch and requires either extended drying or removal and replacement, depending on the location and how long it has been wet.
One note specific to San Jose: the dry summer air means surfaces evaporate faster here than in coastal cities. A wall that reads 13% at the surface might read 22% at the framing behind it, because the drywall surface dries quickly while the cavity stays wet. That’s why a single surface reading is never the whole story; professionals take comparative readings at multiple depths and compare wet areas against unaffected baseline areas in the same structure.
Cosmetic Stain or Active Moisture Problem? The One-Touch Field Test
Stains on ceilings and walls fall into two categories: those that record a past event and those that indicate an ongoing one. Telling them apart matters because a cosmetic stain can be primed and painted, while an active moisture problem requires locating and stopping the source first. Here’s the test any homeowner can perform in less than a minute.
Place the flat of your hand directly on the stain and hold it there for ten seconds. Note two things: temperature and texture. An old, dry stain will feel the same temperature as the surrounding wall and will feel smooth or only slightly raised. An active moisture stain will feel noticeably cooler than the surrounding surface, often by several degrees, because the moisture behind it is continuously evaporating and carrying heat away. It may also feel soft, tacky, or slightly swollen.
Next, press lightly with your fingertip. Dry drywall resists and feels firm. Water-compromised drywall yields slightly, leaving a shallow depression that slowly rebounds or does not rebound at all. If the surface feels chalky or dusty, that’s efflorescence, mineral salts left behind as water evaporated, which indicates the area was wet in the past but may not be wet now.
The limitation of this test is that it can’t tell you what’s happening inside the wall cavity. A stain that passes the touch test as dry can still conceal active moisture behind the drywall. But the reverse is more useful: if the stain fails the touch test, if it’s cool, soft, or both, you have an active problem and don’t need a professional moisture meter to know it. The question is no longer whether to call; it’s how much repair is needed and where the water is coming from. For San Jose homeowners, the answer to “where” is usually a supply line leak, a roof penetration above the stain, or condensation on HVAC ducting in the unconditioned attic space.
When to Monitor vs. When to Call: A Simple Decision Matrix
Not every damp spot requires a restoration crew. Some situations can be monitored safely, and honest professionals will tell you that. But waiting too long is the single most expensive mistake a San Jose homeowner can make with water damage. Here’s a decision framework based on three factors: the area affected, the time elapsed, and the involvement of insulation or HVAC components. For help deciding, read our DIY vs professional damage restoration guide for San Jose homeowners.
Monitor when:
- The affected area is smaller than one square foot, and the source is known and fully stopped, such as a spilled container or a one-time overflow that was immediately wiped up.
- The surface reading is below 12% and the material is dry to the touch within 48 hours.
- No insulation is involved, no HVAC return or supply is in the area, and the space has normal airflow.
Call when:
- The affected area is larger than one square foot, or the water source is unknown or still active.
- Water has been present for more than 48 hours, regardless of how small the visible area appears.
- Insulation is involved. Wet fiberglass batts lose their R-value and hold moisture against framing, and blown-in cellulose can compress and trap water for months.
- The HVAC system moves air through or near the affected space, which can distribute mold spores throughout the home.
- You see or smell any indication of microbial growth: musty odor, visible spots, or staining that returns after cleaning.
The 48-hour rule is the line we use most often with homeowners. Water that’s caught and dried within 48 hours rarely leads to mold. Water that sits for a week in a San Jose attic in August can produce visible growth in the same time frame, because heat accelerates everything. That’s why the matrix matters more than any single sign.
San Jose-Specific Factors: Climate, Construction, and Why Timing Matters Here
San Jose has a climate that works both for and against homeowners when it comes to water damage. On one hand, the dry Mediterranean climate means surface water evaporates quickly, and many minor intrusions dry on their own. On the other hand, the same climate hides damage: a leak inside a wall cavity can be invisible from the surface because the dry air pulls moisture outward and dries the paint while the framing behind it stays damp for weeks. We see this frequently in water damage restoration in San Jose, where the visible evidence is deceptively minor relative to what’s inside the wall.
Construction age also plays a role. The postwar housing boom produced tens of thousands of San Jose homes built between 1950 and 1980, many with galvanized steel supply lines that have reached or passed the end of their service life. Pinhole leaks in galvanized pipe start as seeps so small they evaporate inside the wall cavity, but they can persist for months before the drywall shows staining. Homes in neighborhoods like Blossom Valley and Berryessa that haven’t been re-piped are at the highest risk.
Newer construction has its own concerns. Homes built during the rapid expansion of the 1990s and 2000s often feature PEX supply lines and flexible ductwork in tight attic spaces. The failure points shift from pipe material to connection fittings and condensate lines. An AC condensate line that’s even slightly misaligned or clogged can drip onto ceiling drywall for an entire cooling season before anyone notices, especially in two-story homes where the hallway ceiling below an attic unit is rarely examined.
The takeaway for San Jose homeowners is this: your local conditions let water damage hide longer than it can in, say, Seattle or Houston. That’s not a reason to panic and call a contractor every time you see a water stain. It’s a reason to inspect deliberately, take moisture readings seriously, and act on the early signs rather than waiting for the damage to become undeniable.
Common Mistakes to Avoid
- Painting over a stain without addressing the source. A coat of primer and paint will seal the stain temporarily, but if the area is still getting wet, the moisture will push through within weeks and the paint will bubble or flake. Worse, sealing a damp wall traps moisture inside, speeding up microbial growth.
- Using a household fan for a week and calling it done. Household fans move air but don’t pull moisture out of it. Without a professional dehumidifier like a Phoenix or XPOWER unit pulling water from the air, you’re just circulating humid air over a wet surface. The wall appears dry while the cavity stays wet.
- Trusting a moisture reading from a $20 hardware store meter as definitive. Inexpensive meters measure only the surface and can be thrown off by paint type, wallpaper, or texture. Professionals use penetrating meters that read at depth, which is where the real problem lives.
- Ignoring the first musty smell because it’s intermittent. The on-and-off nature of the odor is not a sign that the problem is resolving. It’s a sign that the microbial colony is active when conditions are right, usually when the HVAC runs or humidity rises, and dormant in between. It doesn’t go away on its own.
- Waiting to file an insurance claim. Most homeowner policies require the homeowner to take reasonable steps to prevent further damage. A documented, timely professional assessment strengthens the claim, while a 90-day delay can give the adjuster grounds to question whether the damage was properly mitigated.
- Assuming a small visible stain means a small hidden problem. Water spreads laterally behind drywall and travels along framing members. A six-inch stain on a ceiling can correspond to a four-foot by four-foot section of wet drywall in the attic above it.
- Choosing a contractor based on price alone and skipping the written scope. In restoration, an unscrupulous low bid often expands after demolition begins. The written price before work starts, the kind Dryden Restoration San Jose home provides as standard practice, is the single most important document in the process.
When to Call a Professional
Call a professional when the affected area exceeds one square foot, when water has been present for more than 48 hours, when insulation or HVAC is involved, when you smell mustiness that won’t resolve, or when you don’t know where the water is coming from. These are the situations where a moisture meter, a thermal imaging camera, and training in psychrometric drying, which is simply the science of how moisture moves through materials and air, make the difference between a $400 repair and a $12,000 rebuild. Dryden Restoration San Jose offers free estimates throughout the San Jose area. Call (669) 770-7417 and we’ll schedule a walkthrough, provide a written price before any work starts, and explain what we found in plain English.
Frequently Asked Questions
Water damage restoration in San Jose typically costs between $1,800 and $6,500 for a contained category 1 or 2 event, such as a supply line leak, drain overflow, or appliance failure, including drying and repairs.
Homeowners insurance covers water damage that is sudden and accidental, such as a burst pipe or a supply line failure, but generally excludes damage from gradual leaks, lack of maintenance, or groundwater seepage.
Professional drying of a wet wall in San Jose typically takes 3 to 5 days with the right equipment, while a wet subfloor or slab can take 5 to 7 days, depending on the materials and the extent of saturation.
Mold growth covering less than 10 square feet on a hard, non-porous surface can often be cleaned by a homeowner with proper PPE (personal protective equipment), but mold on drywall, insulation, or ductwork, or any growth larger than 10 square feet, should be handled by a professional remediation team because the spores are easily spread by improper cleaning.
Water mitigation is the emergency phase: stopping the water source, extracting standing water, and setting up drying equipment. Water damage restoration is the rebuild phase: replacing drywall, flooring, and insulation, and returning the home to its pre-damage condition. Many companies do both; Dryden does both under one guarantee.
That smell typically means microbial growth is present inside the ductwork or on the materials around the air handler or supply vents, and the moving air is carrying the odor into your living spaces each time the system cycles.
The Bottom Line
The warning signs that matter most in a San Jose home aren’t dramatic. They’re quiet, slow, and easy to explain away, which is why they cost so much by the time a professional sees them. The musty smell that comes and goes, the baseboard gap that grows a millimeter a month, the cool spot on the wall: each one is a signal that water is where it shouldn’t be. Catch them early and the fix is measured in hundreds or low thousands. Wait and the same problem becomes a multi-week project. Learn the signs, do the 15-minute inspection, understand the numbers, and call when the situation calls for it. Explore more guides & resources on protecting your San Jose home. The most expensive water damage in San Jose is the kind that was visible for six weeks before anyone acted.
Written by Carl Brandt, Owner at Dryden Restoration San Jose, serving San Jose since 2005.
See the difference
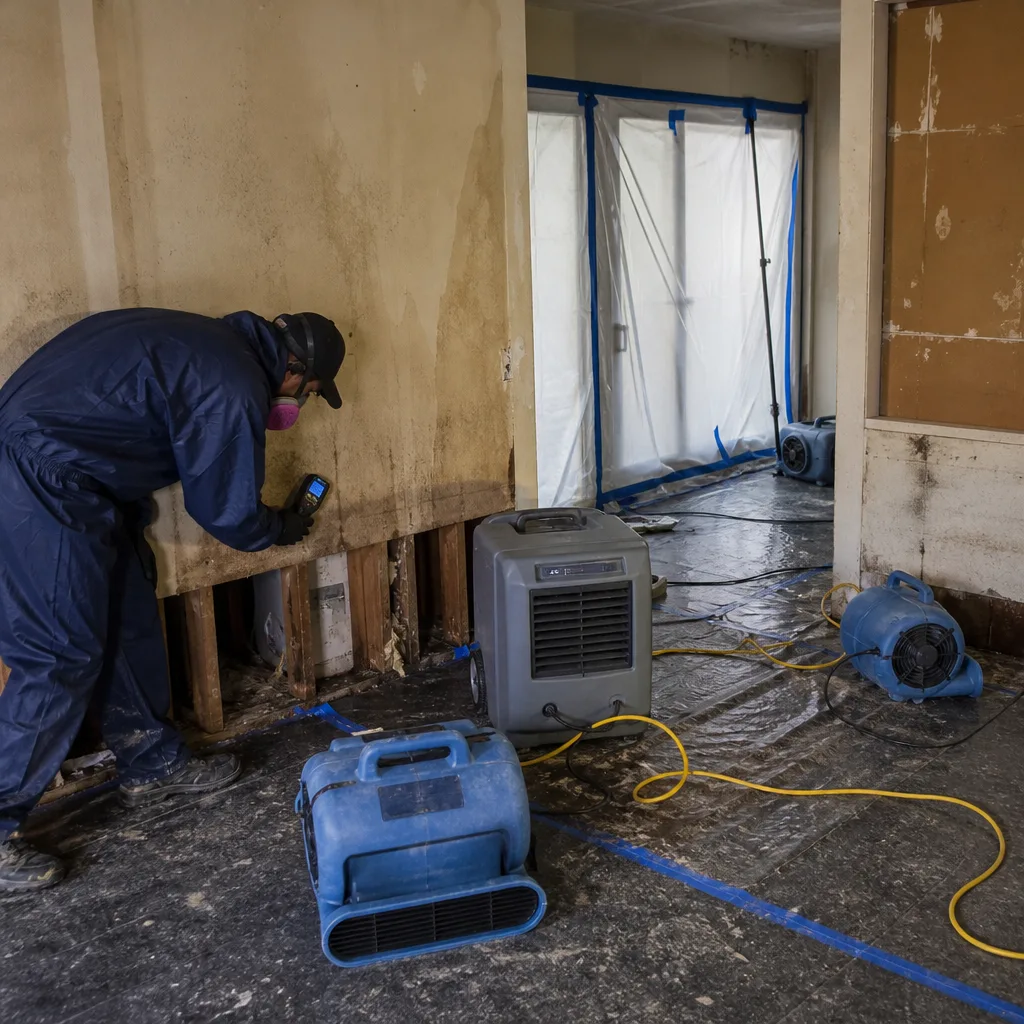 Before
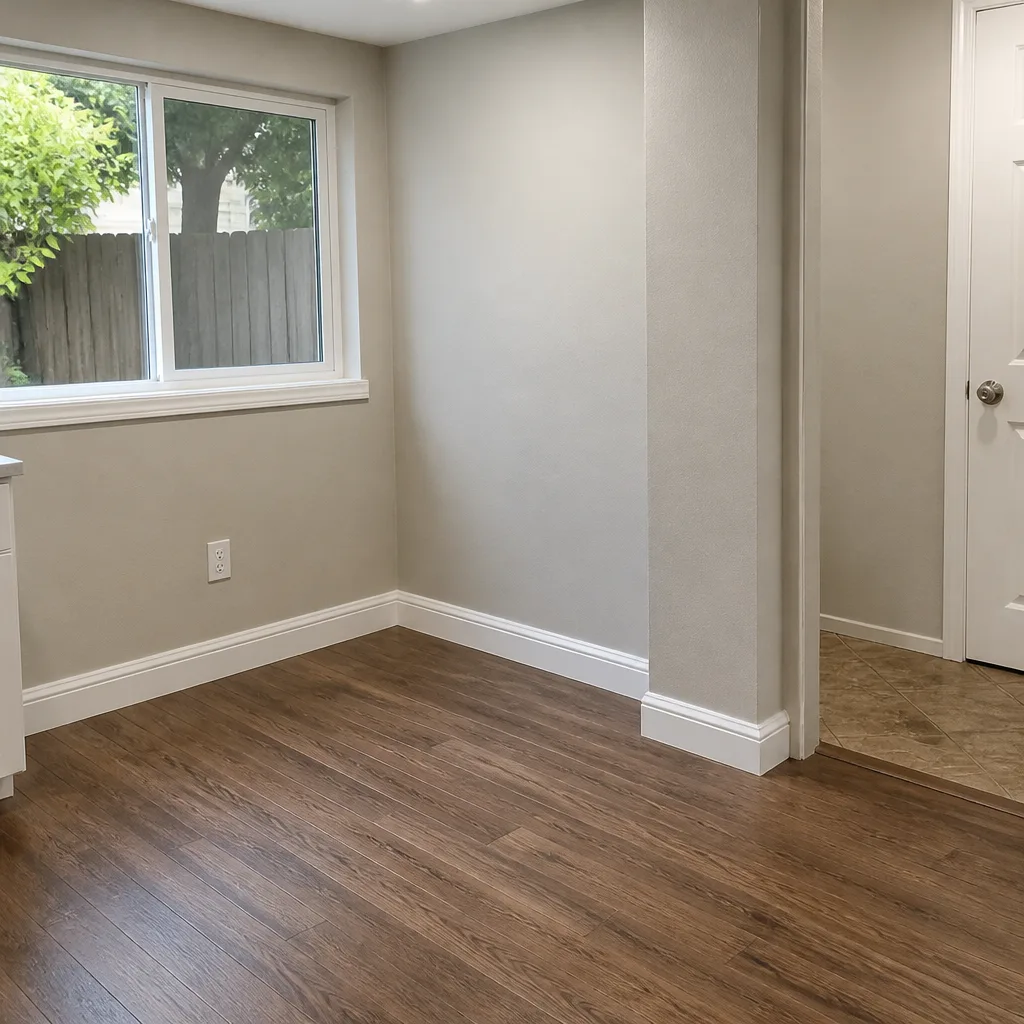 After
After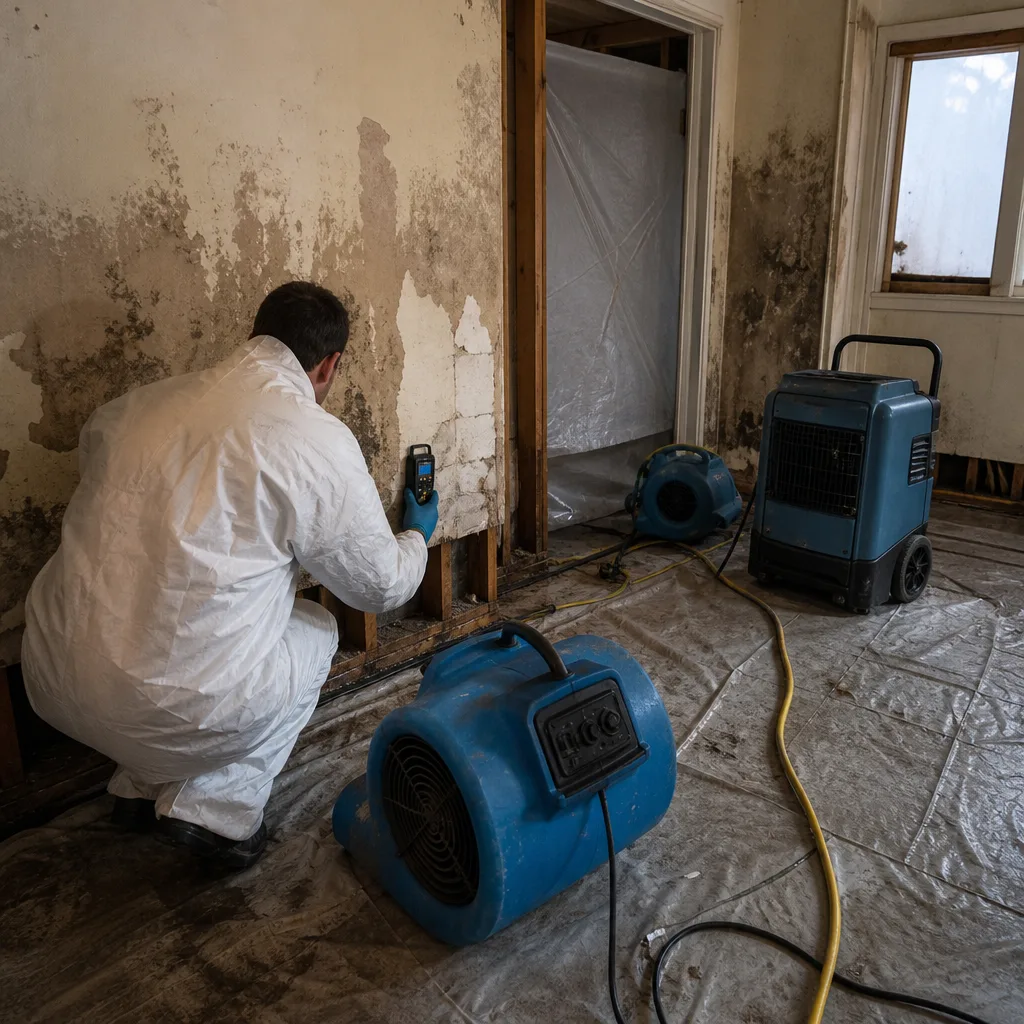 Before
 After
After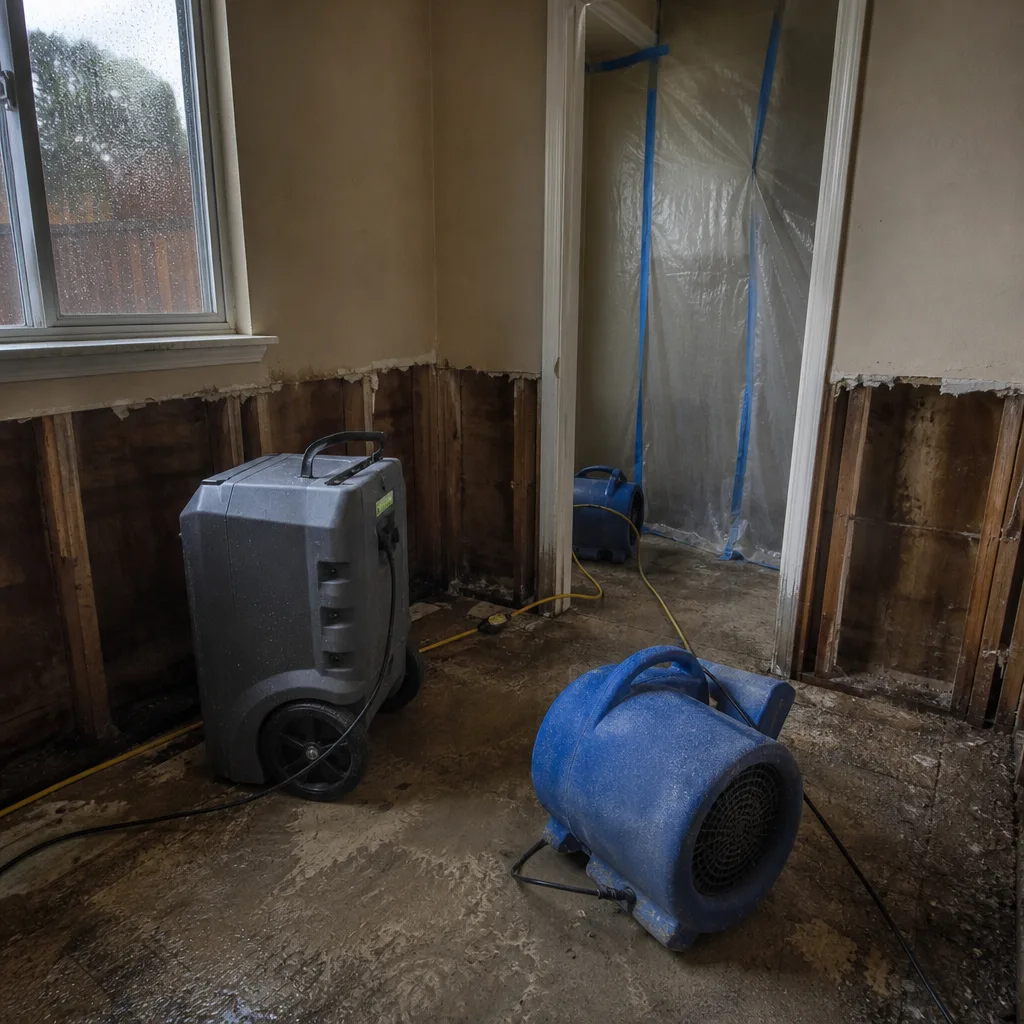 Before
 After
After